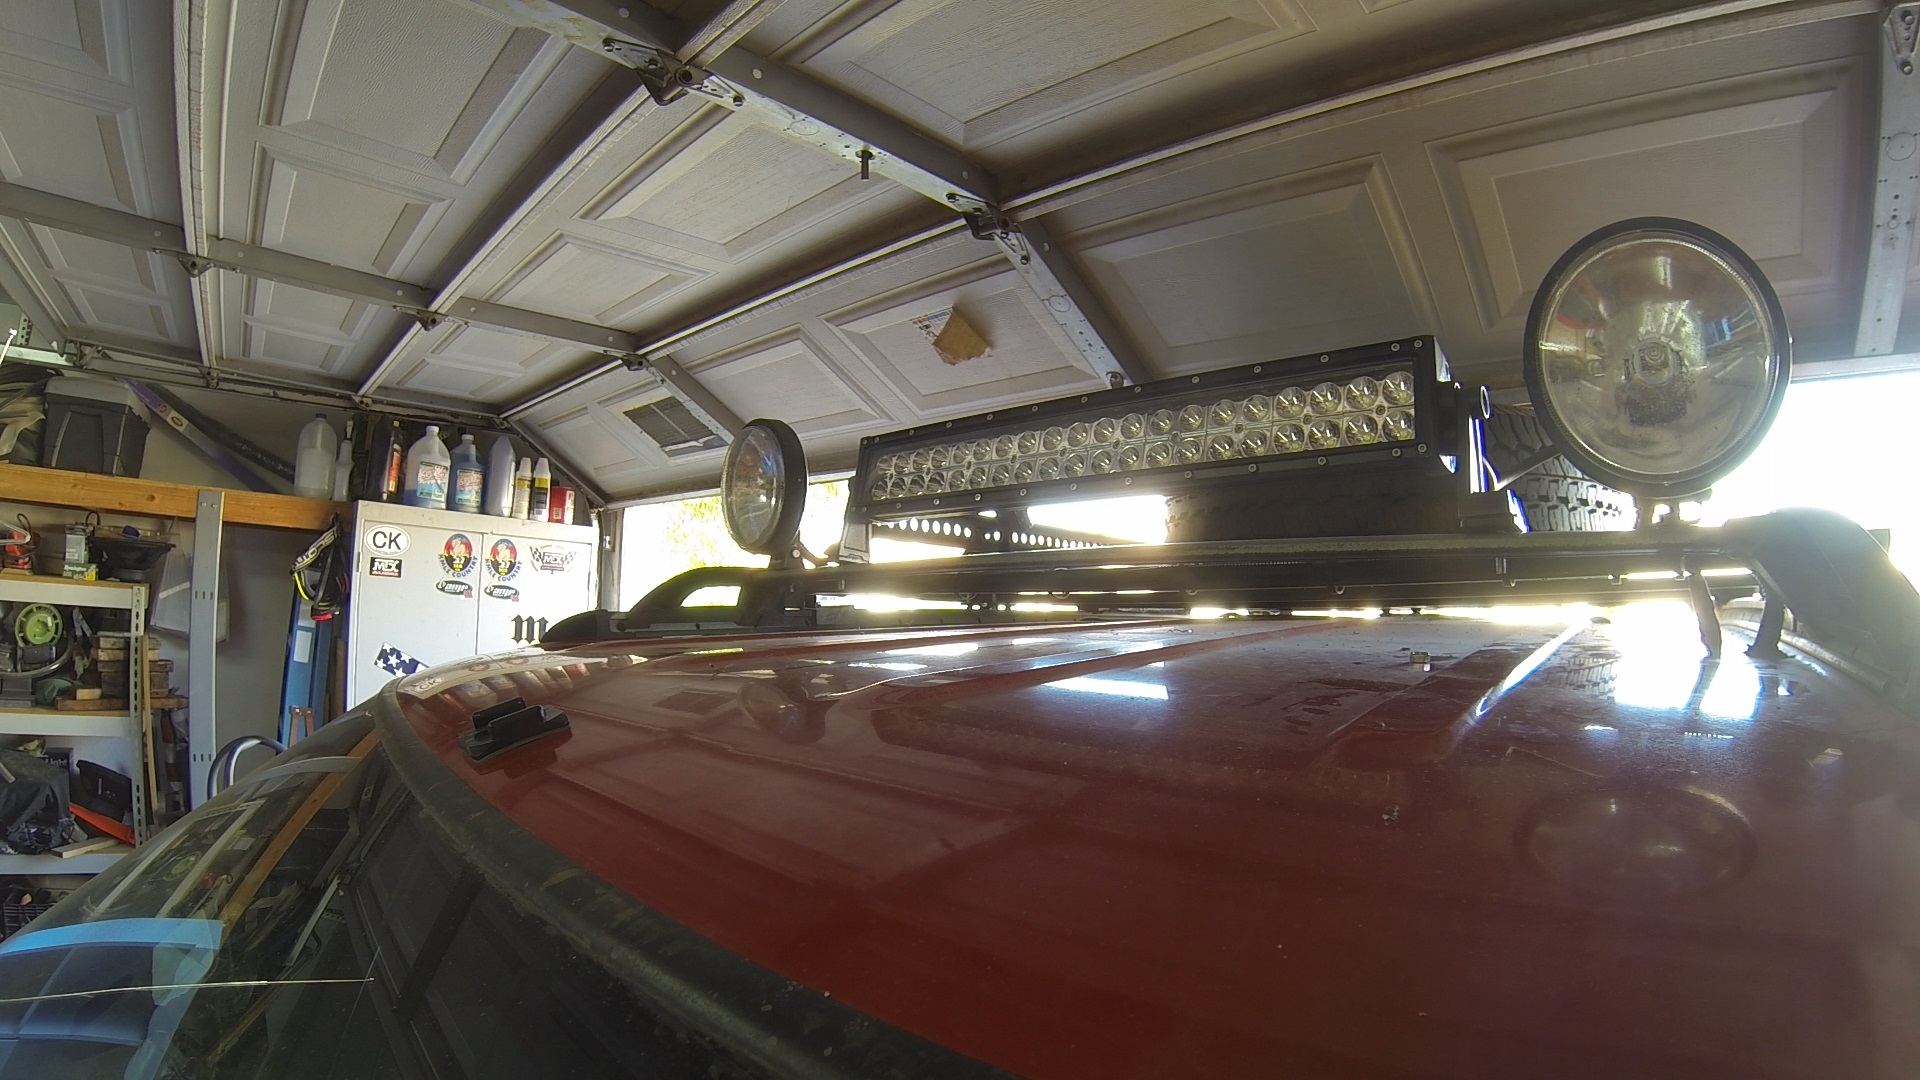
Grand Cherokee [“ZJ”] Project
Components needed:
Penton 24" LED light bar from Amazon (or other light bar + mounting hardware of your choice)
lighted rocker switch from NAPA
previously installed or new fuse block
wiring
Drill, misc. sockets/wrenches, wire cutters, sillicon
1 hour of time
Process:
STEP 1 - Accept the fact that people may call you a mall crawler: For some reason, there is a lot of hate with the use of light bars. It likely stems from their widespread popularity and lack of serious use by many. LED light bars are actually very efficient -- they are very bright without drawing tons of power. Just don't go crazy with light bars and you'll be okay.
STEP 2 - Determine where you want to place light bar and begin mounting: Depending on where you decide to position your light bar, you may need to purchase additional mounting hardware. Ours came with a basic mount that we drilled direct to the factory roof rail. We used this rail to mount lights because it slightly elevated and positioned forward enough to be perfect. See our page on mounting other lights to see how we mounted and wired the spot lights already attached to the roof. Position the light bar where you want it and use a drill to pre-drill holes for the bolts to attach to the mounts.
STEP 3 - Run wiring: If you've already installed lights on your jeep this will be easier. When we originally installed lights, we put in additional switches for future projects. If you're just starting out, you'll want to install a fuse block somewhere under the hood. Run power from the battery direct to the fuse block. This will allow you to have multiple accessories all on different fuses. Install a rocker switch somewhere inside and run power from the fuse block to the switch. Run a load wire from the switch to the light bar. We removed the A-pillar plastics and ran it up that, under the roof liner, and out to the light bar. Use silicone to seal up the hole you have to drill through the roof to run the wiring.
STEP 4 - Attach wiring: The light bar will come with two short pieces of wiring attached to the lights. Depending where you place the lights, you will likely need to add wiring. Make sure to match the gauge of the light bar wiring to prevent any shorting out. Use a heat gun and heat shrink to ensure the connections are well protected. Plug everything into the switch and re-attach all plastics inside the cab.
STEP 5 - Attach light bar to mounts and test: Bolt the light bar to the mounts you previously installed. Ensure the switch works and adjust the angle of the bar as necessary.


