

Grand Cherokee [“ZJ”] Project
Click on boxes below to view different phases of the build.


Components needed:

Front bumper. There are numerous options online. You may need a specific bumper for each year/make/model. We purchased our bumper from Hanson Offroad.
-Air gun or normal ratchet.
-Grinder wheel (if you need to trim bumper beam)
-Supplied bolts and washers
-Undercoating spray (optional)
-D-Ring Shackles (optional)
-Winch (optional)
2-4 hours of time for whole process depending on accessories
Process:
STEP 1 - Research/Buy bumper/Be patient: When it comes to modding older vehicles like this, it becomes hard to find direct fit parts. And because my ZJ is one of the oldest models of Grand Cherokee, you can see that my grill and lights are in line with each other. Most ZJ’s feature an offset grill and light pattern and likewise, most bumpers are meant to fill in those lines. Because I didn’t want huge bumper gaps, I was really only left with one choice of bumper that would be a direct fit, and that was a Hanson Bumper. Expect to wait several weeks to several months while your bumper is fabricated and shipped. In my case, the whole process took nearly 6 months to physically receive my bumper. I ordered on Black Friday and received the bumper at the end of the March after several calls/emails to Hanson. Hanson makes great products, but is a little slow in the communication/shipping process. Other companies will likely have similar wait times.

STEP 2 - Unpack/Inspect Bumper: The bumper will come via freight delivery on a pallet and will likely be well wrapped and secured. Hanson bumpers come powder-coated so they do a good job at protecting that coating during the shipping process. Once the bumper is out of the packaging, take a few minutes to give it a good once over for any damages, scratches, or abnormalities.

STEP 3 - Remove factory bumper cover/grill: The next step in the install process is to remove the factory front bumper cover from the ZJ. You will also need to remove the ZJ grill and any driving lights/accessories you may have mounted to the front bumper. The bumper itself is held on with a few bumper clips and hooks that can be removed at the side fairly easily.

STEP 4 - Fix any front end issues (OPTIONAL): With everything opened up in the front, we wanted to take the opportunity to fix a long over-due problem. The trans-cooler lines on the front of my ZJ have been leaking for a long time, and have resulted in a nice trail of liquid all the way down the radiator and into the street over the months. All we needed was a short section of fresh vacuum line to replace the old and mangled hose and clamps. We gave things a quick spray down and clean to make sure the problem would stay gone for good.

STEP 5 - Mount frame adapters: These large metal plates would hold the bumper in place and the 8 bolts would provide enough support to provide sufficient pulling power from the recovery points or winch. These metal adapters fit in the existing holes on the front bumper beam. They are specific to each side, and we found a little trimming would be necessary for a proper fit. The curved off openings meant the adapters would not seat properly when tightened down, so a quick hit with the grinder wheel allowed us to square off the problem areas and provide a good mounting surface. Once this was done, the adapters mounted right in place. Of course, removing other hardware behind the bumper beam, such as the horn, was necessary to be able to tighten all the bolts.


STEP 6 - Mount bumper to adapters & tighten bolts: Use the remaining 8 bolts and washers to securely attach the front bumper to the extension adapters you previously mounted to the frame. The fitment should be snug. Don’t tighten down all the bolts until you are happy with the placement of the bumper. Using an air ratchet will help speed this process up and ensure your bumper is mounted solid to the vehicle.

STEP 7 - Reinstall the grill & any accessories: Reinstall the grill to finalize the project. Take this time to reinstall any previously mounted lights and any new accessories. At this point, we added two, ¾” D-Ring shackles at the recovery points and temporarily re-installed our driving lights in the winch mounting plate. We do have a winch and will be installing it soon after we receive an additional mount from Hanson.
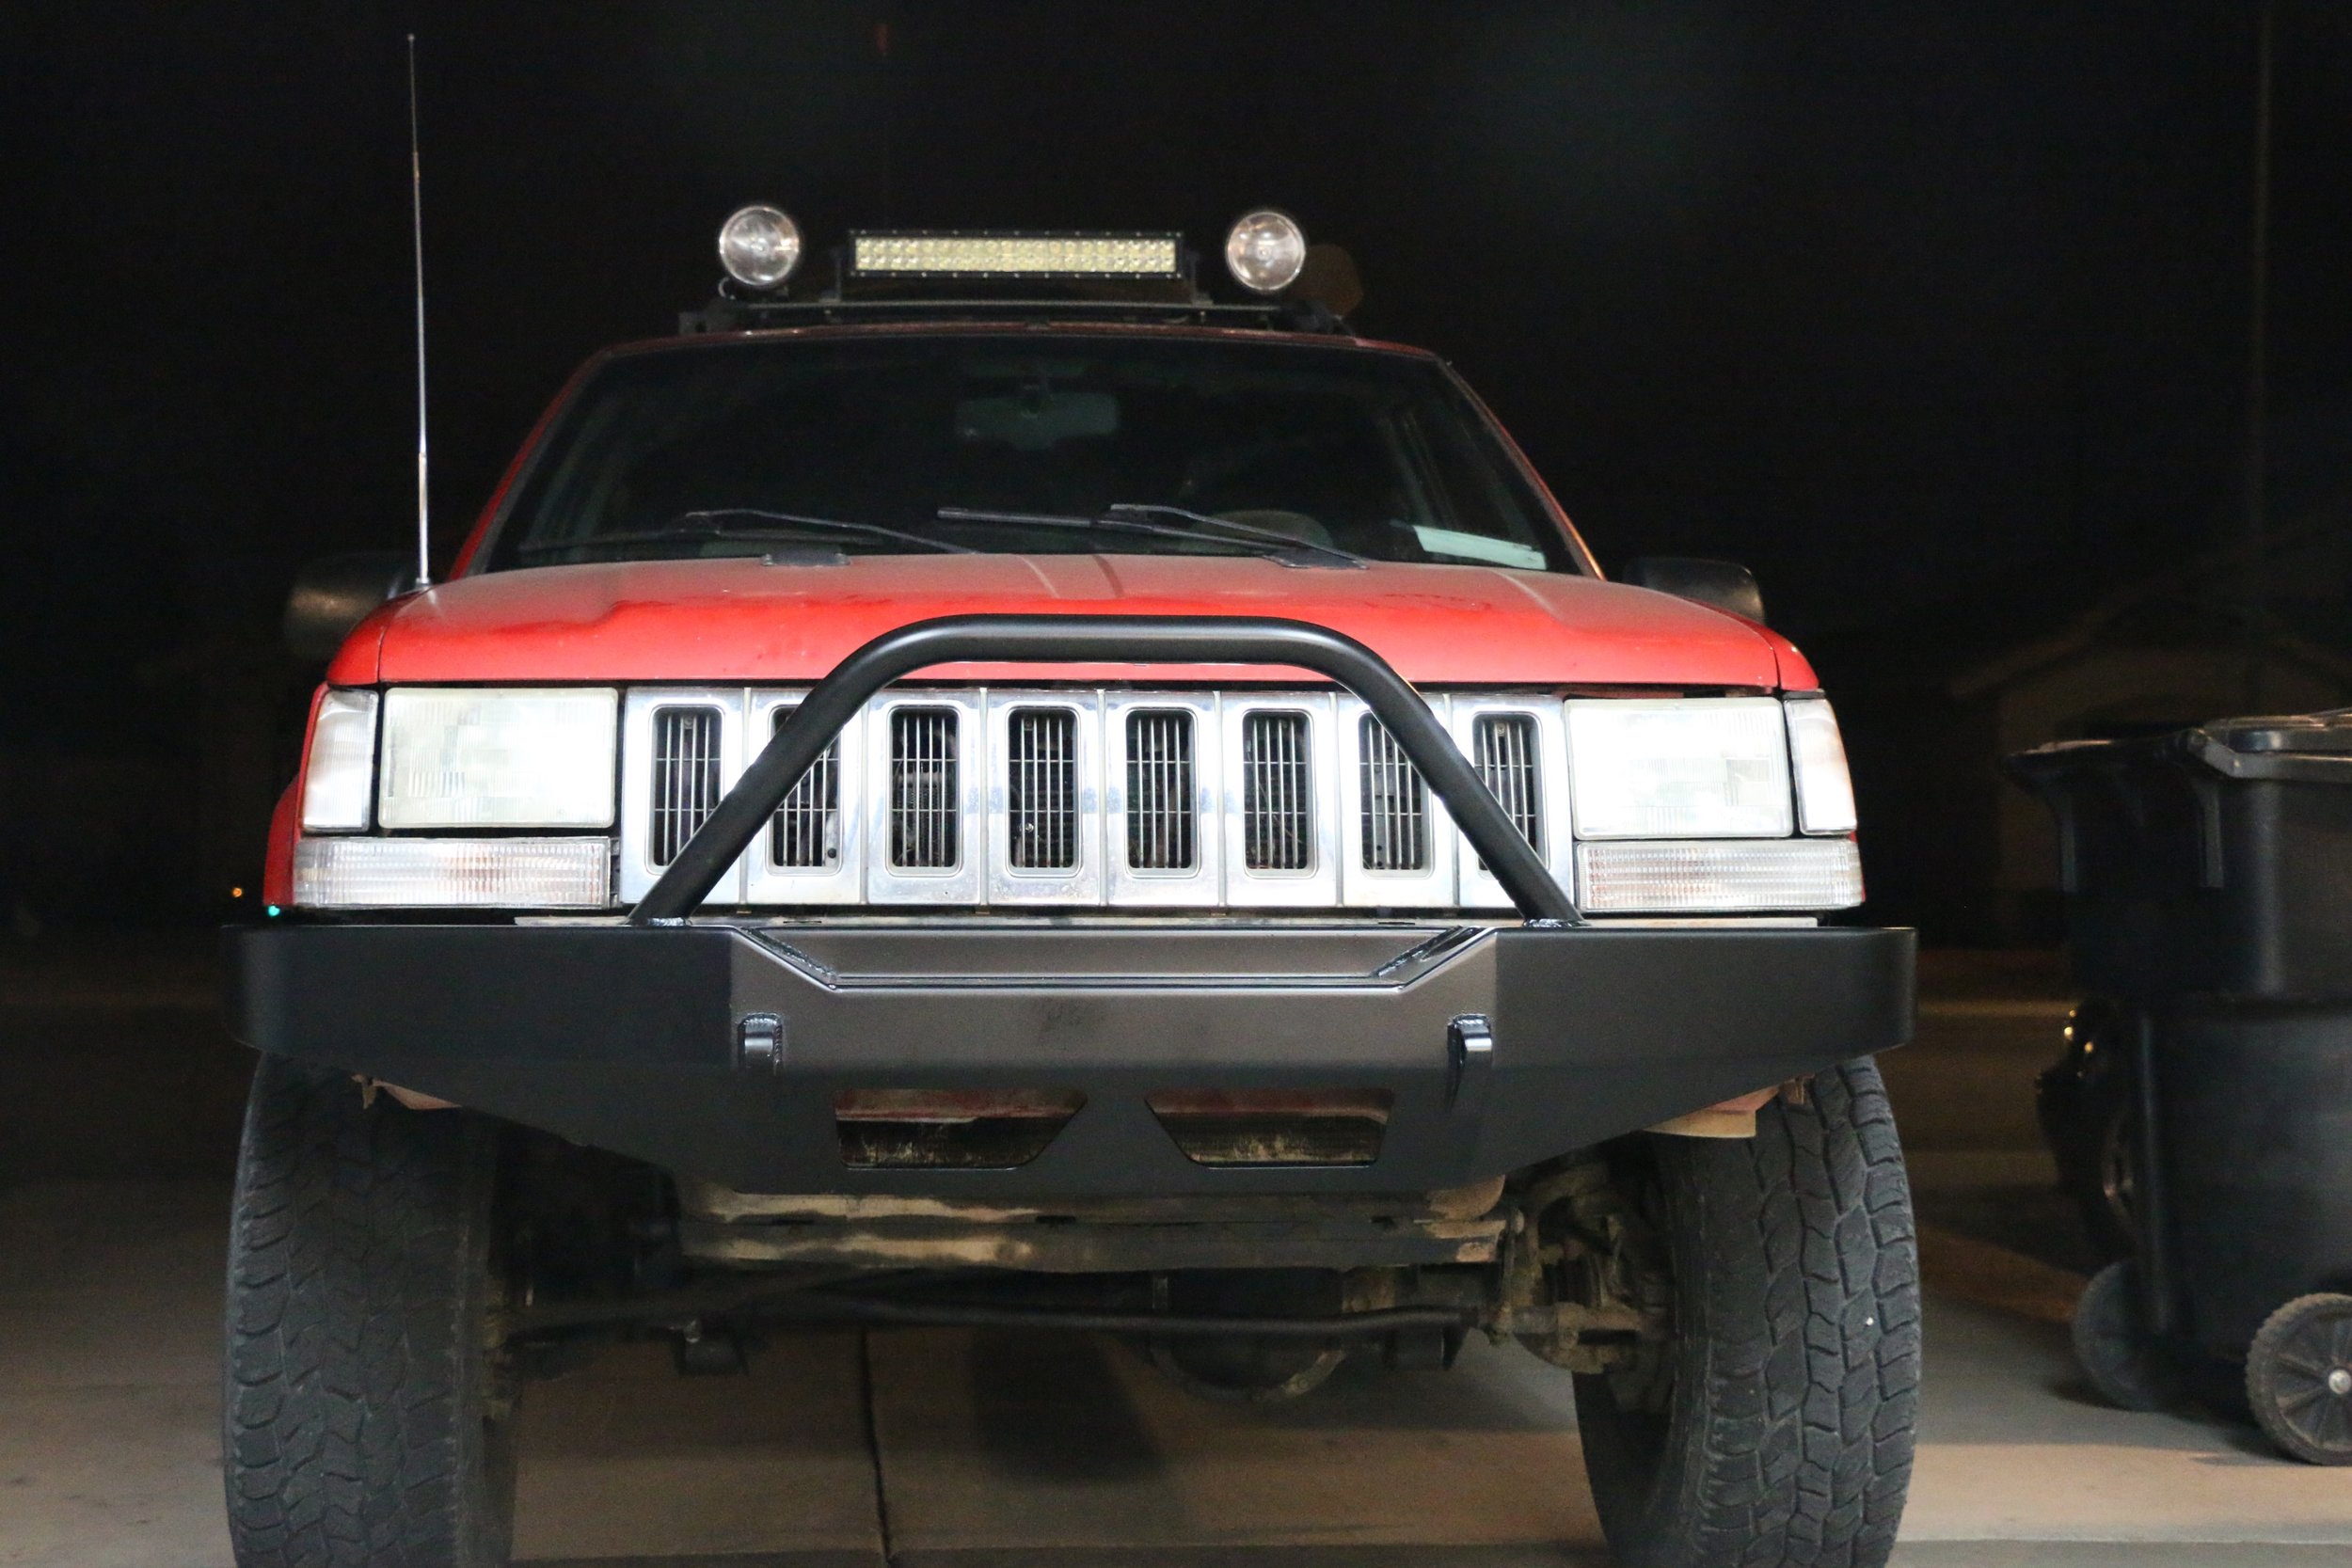
STEP 8 - Paint underneath the bumper (OPTIONAL): Depending on how you want your front end to look, you may want to use some sort of undercoating or spray to fill in the black underneath and around the bumper. Without doing this, the caked on dust and different colored metal plates looked kind of tacky. We used a spray-on undercoating to mask the parts of the bumper beam and components that showed through under the bumper. The Hanson bumper is much shorter than the factory bumper cover, leaving more parts exposed, but giving you a better approach angle. We masked off the headlights and bumper and filled in the gaps using a spray-on bedliner. It looks much better and more “professional” after painting the metal pieces behind the new bumper.

