
Grand Cherokee [“ZJ”] Project
Click on boxes below to view different phases of the build.


Components needed:
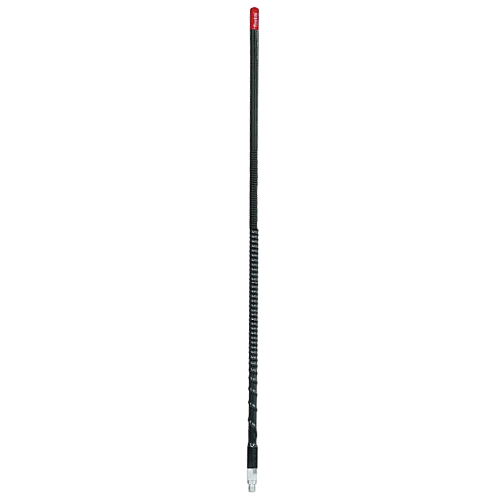


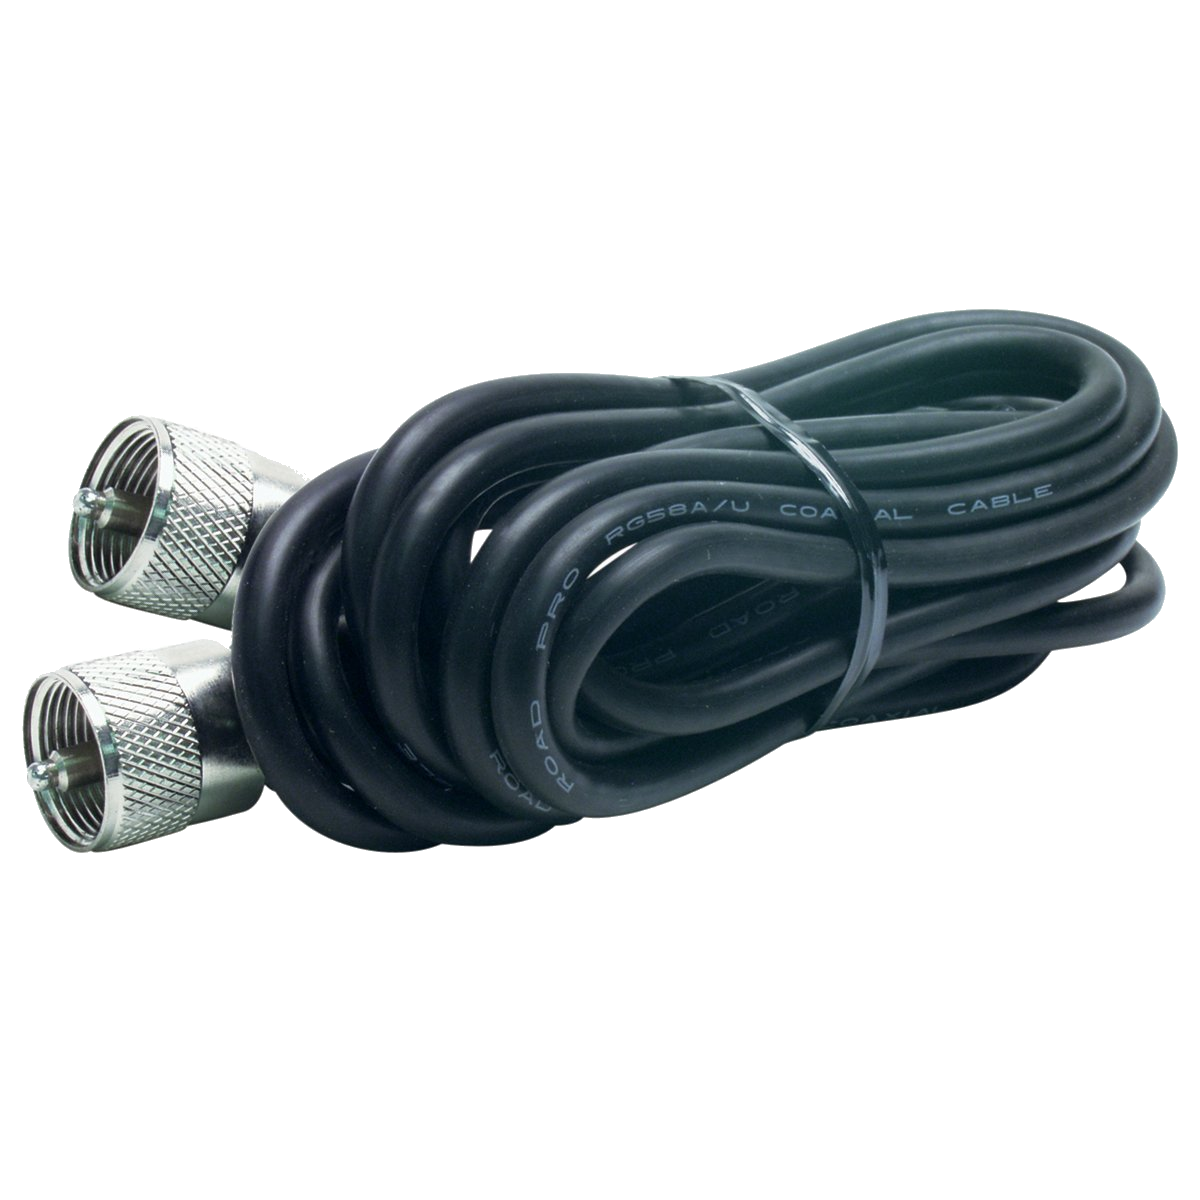

CB Radio, antenna, antenna spring, antenna mount, and CB cable.
[Uniden Pro510XL, 2ft Firestik Antenna, Firestik SS-H3 Heavy Duty Spring, Firestik K-4A mount, 12' cable]
-Drill with drill bits,
-misc. screwdrivers and sockets
-thin metal or pre-made mount
-electrical wiring
-SWR meter (optional)
2-4 hours of time
Process:
STEP 1 - Install CB Radio unit: The first thing you'll want to do is install the actual radio. Radios come with mounting equipment in the box and a microphone. Determine where you want to mount your radio. Popular locations include on the dash, in the center console, and even overhead somewhere. We mounted ours on the passenger side just to the right of the center console. We had to remove the plastic paneling above the passenger knee area. the glove box, and VIC/cigarette lighter, but this ended up being a solid place to mount the radio that was still within reach of the driver. Drill through the plastic and mount the radio brackets to the vehicle. Install the mic. holder nearby. Then, run power from the fuse block or from the battery to the radio. You'll have to run wires through the firewall, then under the dash and through the center console to the radio.


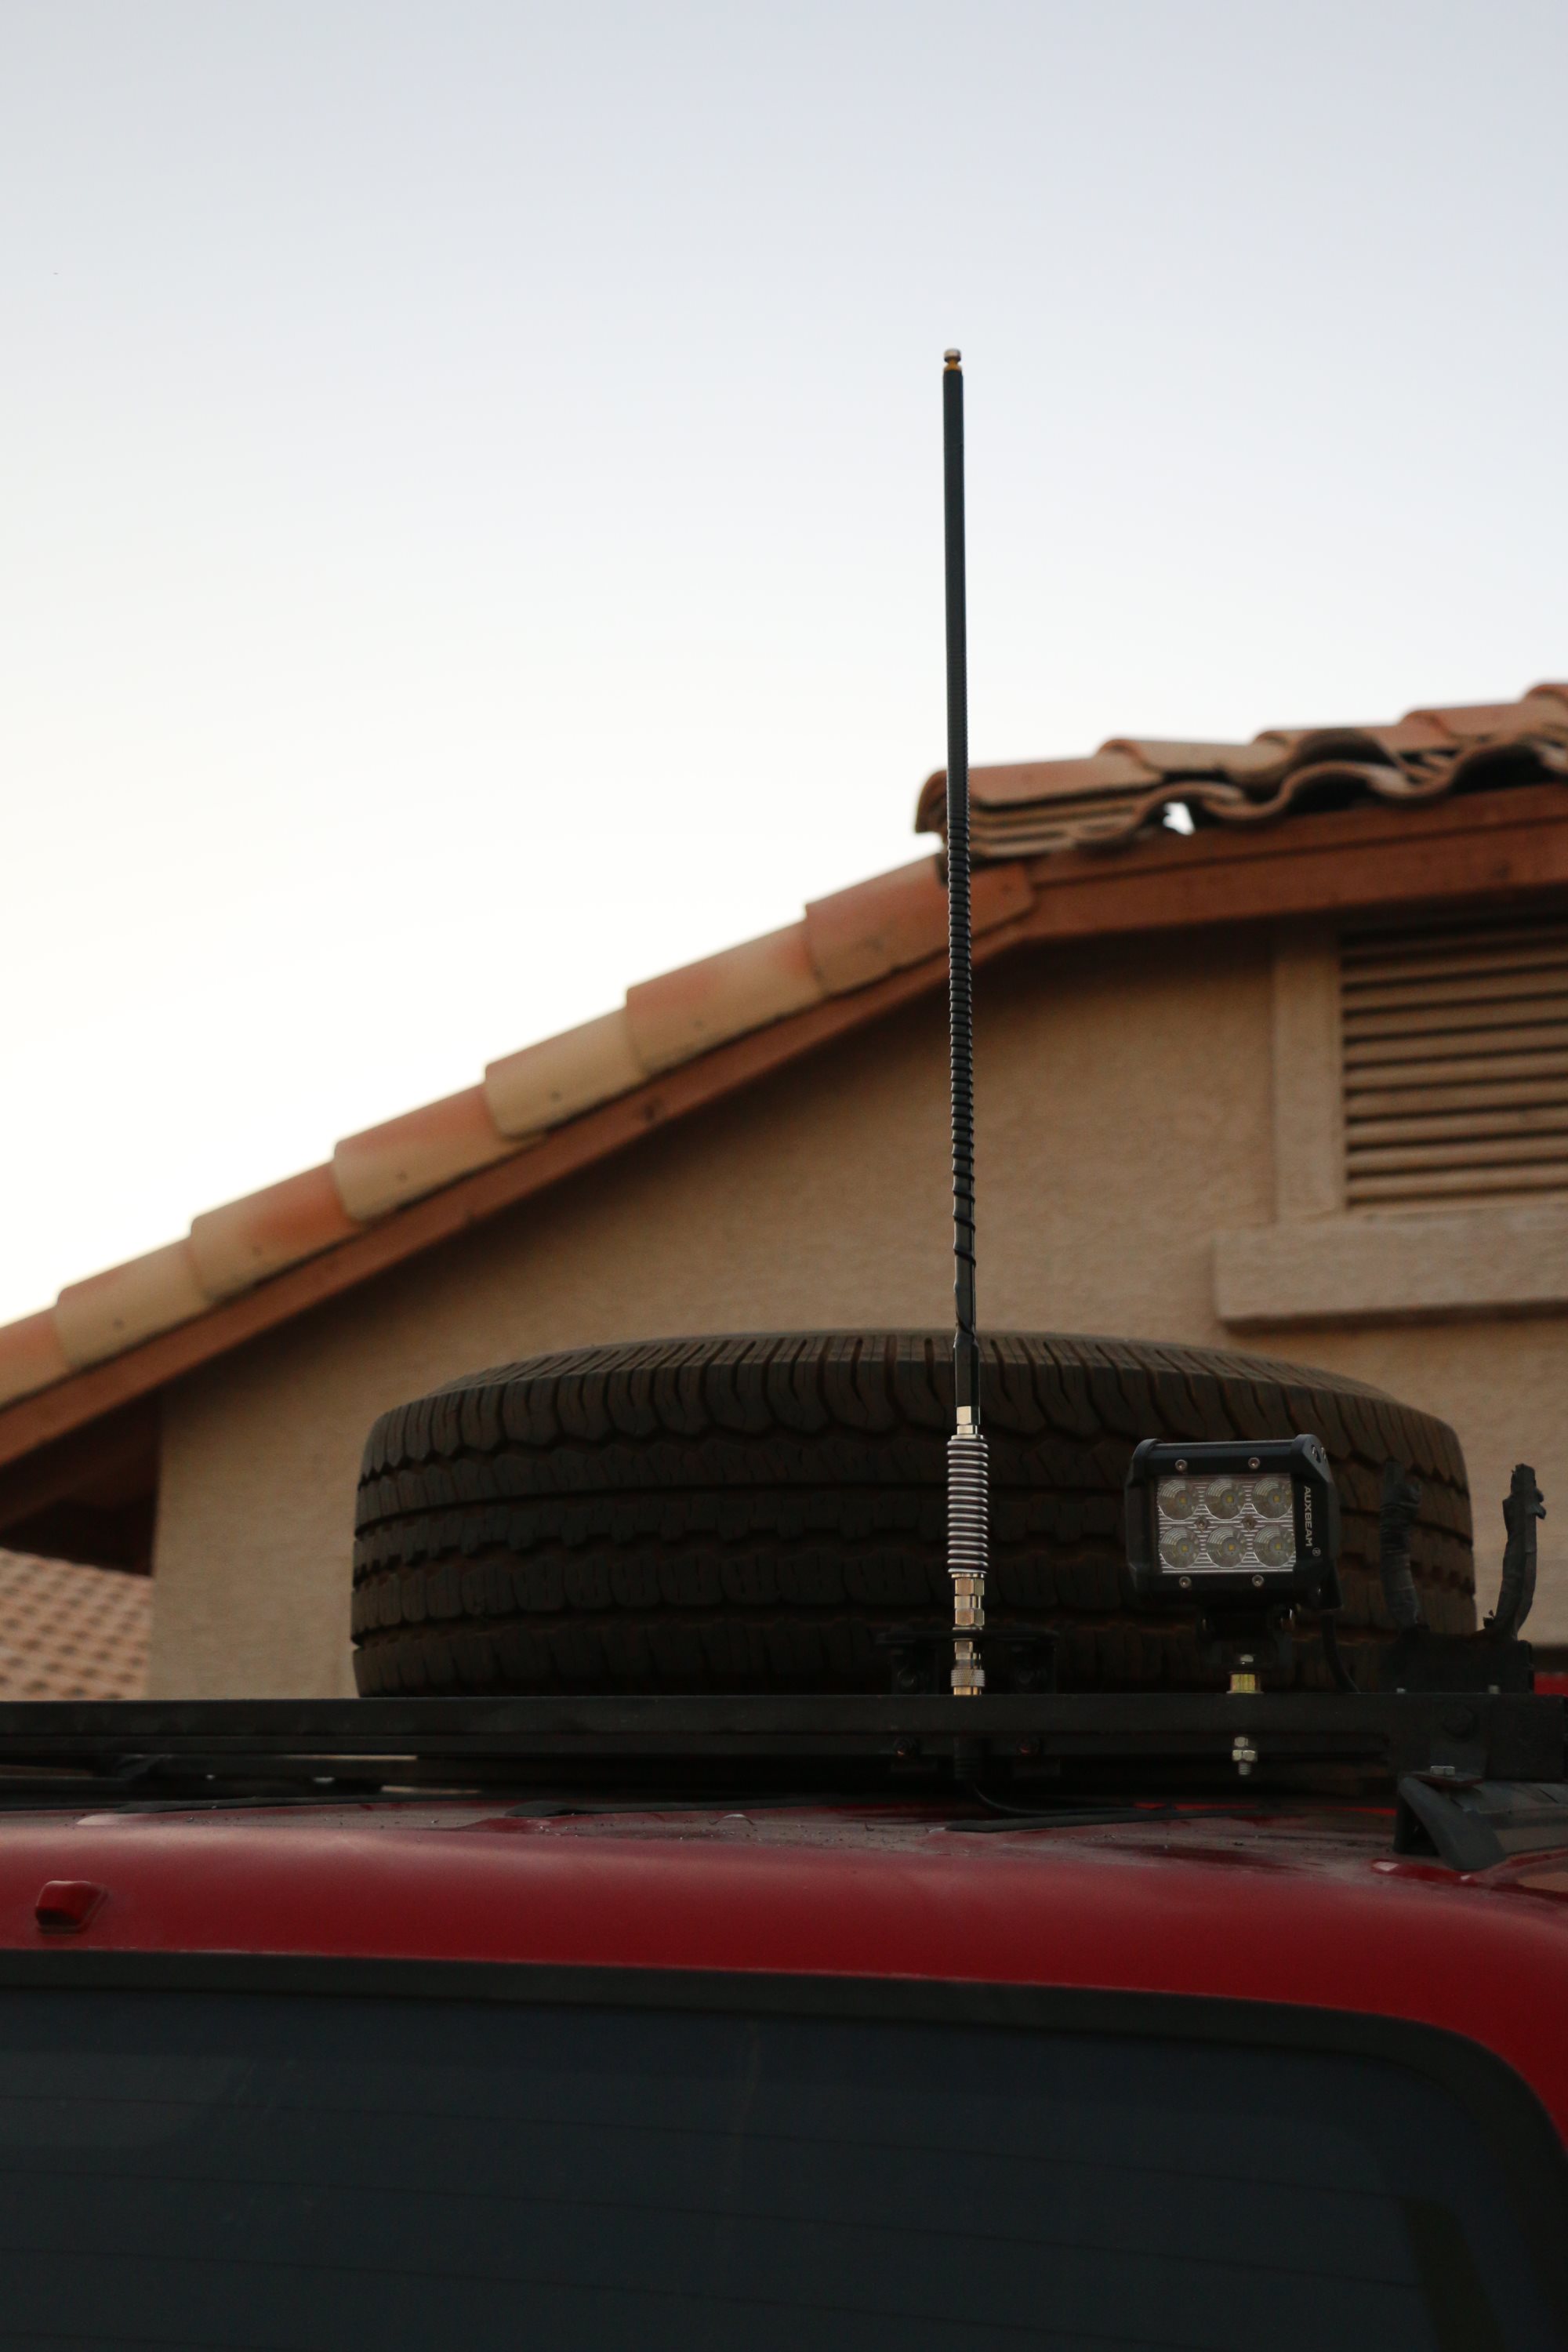
STEP 2 - Choose antenna location: There are several factors you need to consider when determining where to mount the antenna and how long it should be. Do you need to park in a garage or low clearance area often? How often will you use your antenna? What kind of range are you looking to get? The higher you can mount the antenna the above the roof line, the better. Because we have a roof rack with little obstructions, we figured mounting direct to the roof would provide the best reception and range. We selected the 2' Firestik II with a spring to provide give if we ever hit anything. The shorter the antenna, the less "good range" you'll have. Basically, the taller the antenna, the greater the spread is of good channels. Shorter antennas require more work done in a smaller space and mean that the middle channels 10-30 usually work better than 0-10 and 30-40 on the edge of the band. The location of your antenna will determine what kind of mount you need to buy. We got a simple stud mount since we'd be creating the mounting bracket ourselves. Firestik also sells cowl mounts, bumper mounts, and magnetic mounts. Choose the one that will work with your setup the best.
STEP 3 - Run coaxial cable from the radio unit to antenna location: You'll need to connect the antenna to the CB radio unit. Most guides recommend getting at least an 18' cable. We managed to make a 12' cable work, but only just barely. Plug the antenna cable into the back of the radio unit. Because we mounted our antenna in the rear right side of the roof rack, we ran our antenna up the passenger side A-pillar and underneath the roof liner all the way to the back of the vehicle. This required a clothes hanger and patience and we pulled the panels (all the right side panels and oh s**t handles had to come off) and ran cable. We drilled a hole big enough to fit the cable through the roof to the antenna and sealed the hole with silicone.

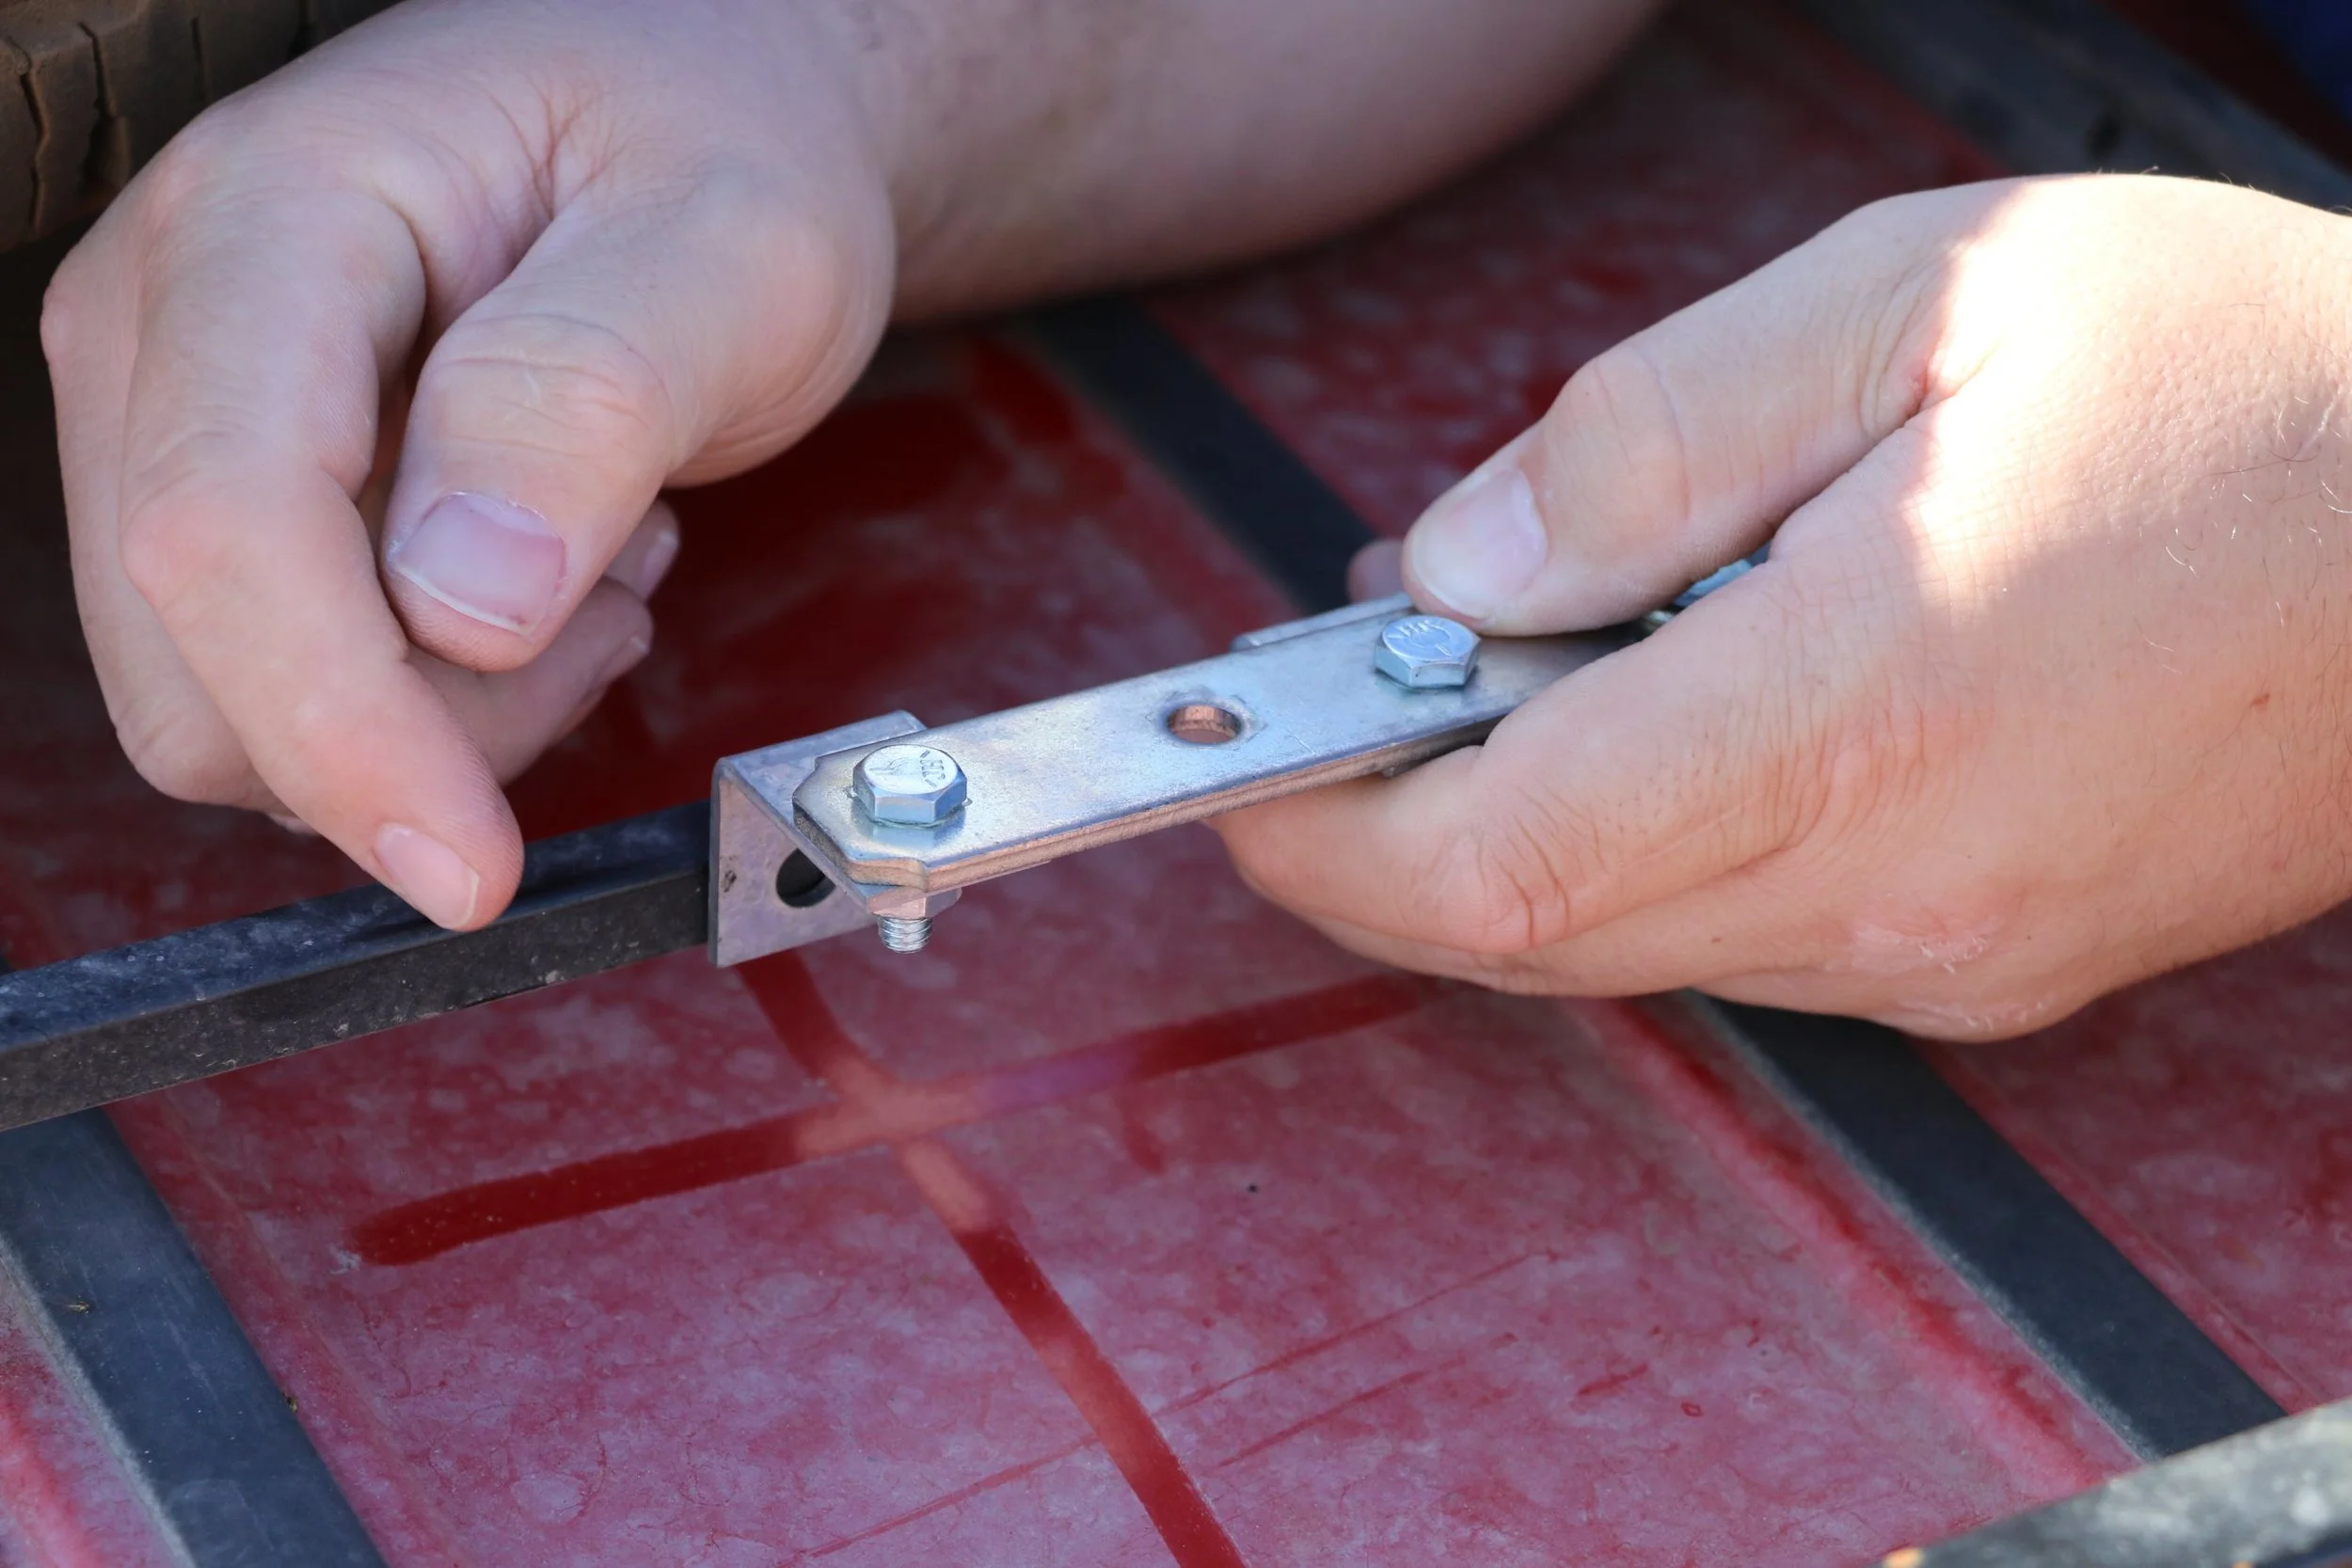
STEP 4 - Mount antenna: It is very important that your antenna has two things: 1) a good ground to the vehicle body and 2) the antenna needs to be isolated from the body and ground. This step will depend on how you mount your antenna. We created a simple bracket that fit to the existing roof rack rails using a few bolts. See photos on right, but it took about 10 minutes of cutting metal strips and drilling holes. We simply bolted everything together and gave it a quick weld for extra strength. We raised the mount to ensure the coaxial cable could plug into the bottom of the antenna. Use a volt meter and power source to confirm the mount is receiving a proper ground. From top to bottom, our mount goes like this: coaxial cable, bottom part of stud mount, mount/ground to body, isolation washer, top part of stud mount, bendy spring, and finally antenna. It is important that the spring and antenna are isolated using the washer from the vehicle ground. Make sure all connections are tight to prevent interference.

STEP 5 - Tune radio and antenna: It is a good idea to get your radio professionally tuned for optimal results. There are many CB radio shops around that will tune them for very cheap or sometimes even free. We ended up going to Big Rig Radio at 67th Ave. & I-10. They looked over our system, noticed we were missing an isolation washer, tuned our antenna, and peaked and tuned our radio all for about $50. They definitely know what they were doing and helped us get our radio working perfectly. You can tune your radio yourself if you have an SWR meter (about $25 online). You need to measure the signal on channels 1 & 40. The signal needs to be about the same on both channels. The advantage of having a Firestik antenna is that it has a tune-able tip, meaning it can be adjusted up or down to properly tune. Having a SWR reading of about 1.5 to 2 is ideal and will provide the longest range and clearest audio. Without properly tuning your antenna, you run the risk of frying electronics within the radio when attempting to talk. Whether you tune it yourself or have it professionally done, you can't skip this important and final step.