

Grand Cherokee [“ZJ”] Project
Click on boxes below to view different phases of the build.


Locking lug nuts (optional) or regular lug nuts
Jack, jackstands, lug wrench and/or air tools & air compressor.
Process:
STEP 1 - Determine which wheel/tire combo will work with your lift: Depending on what lift you add to your vehicle, you'll want to pick out a wheel/tire combo that fits your needs. With a 3.5" lift completed, we figured 31" tires would fit best. With a taller lift you can fit 33" tires. The Cooper all-terrains are a nice compromise of ruggedness with smoothness and quietness on the road. We've had the tires on for over two years and have *ZERO* complaints -- they work great as a daily driver and are fairly aggressive off-road.

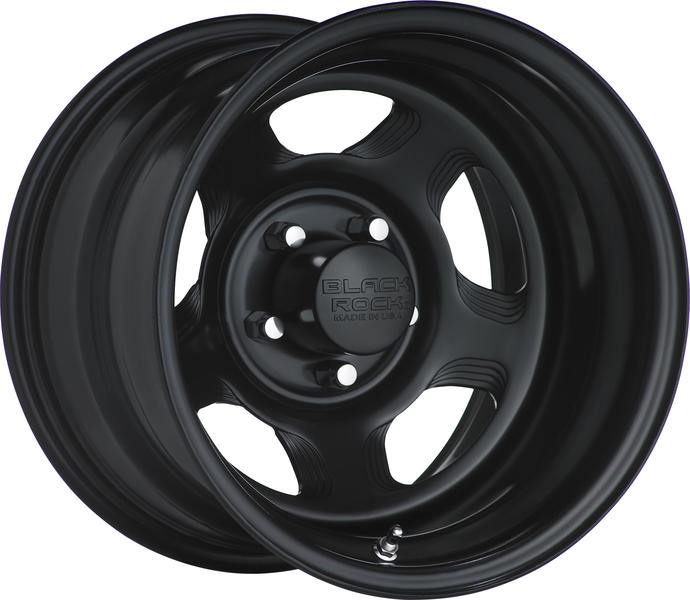
STEP 2 - Mount tires on the wheels: The wheels and tires will likely come separate which means you'll have to get them mounted and balanced. This can be done at any shop or dealership of your choosing or even by yourself if you have the appropriate tools (likely not). Expect to pay a few bucks to get this done unless you have a friend in the industry that can help you out. A shop will also be able to put your new tires on the vehicle too, but expect to pay more. We decided to mount add them to the Jeep ourselves.

STEP 3 - Jack up the vehicle. Remove old wheels/tires: This is a fairly simple process that will take a half hour tops. Get the old wheels off and replace them with your newly mounted wheel/tire set. You can use the old lug nuts if desired, or take this opportunity to add new ones. Because we spent a few bucks on the set we decided to invest in a set of locking lug nuts to prevent anything from getting taken.
STEP 4 - Tighten wheels, lower vehicle back to ground and properly torque lug nuts: Again, another easy step here. Once everything is back on, make sure things are snug. Lower the vehicle off the jack stands. Re-torque the wheels to proper factory specs. I believe around 90 ft/lbs of torque is where we set ours at.
STEP 5 - Trim plastics as necessary: Even with a 3.5" lift, our 31" tires still had clearance issues in the front. Our initial test drive showed us that the tires were rubbing on moderate to tight turns. A few minutes with a grinder wheel to the front bumper and we were all set. We removed maybe 1-2" of the corners of the front bumper. We have had no issues with the rear tires clearing.


STEP 6 - Get an alignment done: An important final step that is easy to forget is to get an alignment done. Again, this can be done at any shop or dealership. A proper alignment will mean that all your tires will track straight on the road and prevent any uneven wear down the road. If you have recently added a lift like we did, this is absolutely critical as the entire geometry of the suspension and wheels/tires have changed. This is the final step to your vehicle looking great in some new shoes!