

Grand Cherokee [“ZJ”] Project
Click on boxes below to view different phases of the build.


-Air gun or normal ratchet.
-Floor jack or a seond pair of hands.
-Supplied bolts and washers (or re-use hardware on your vehicle).
1-2 hours of time
Process:
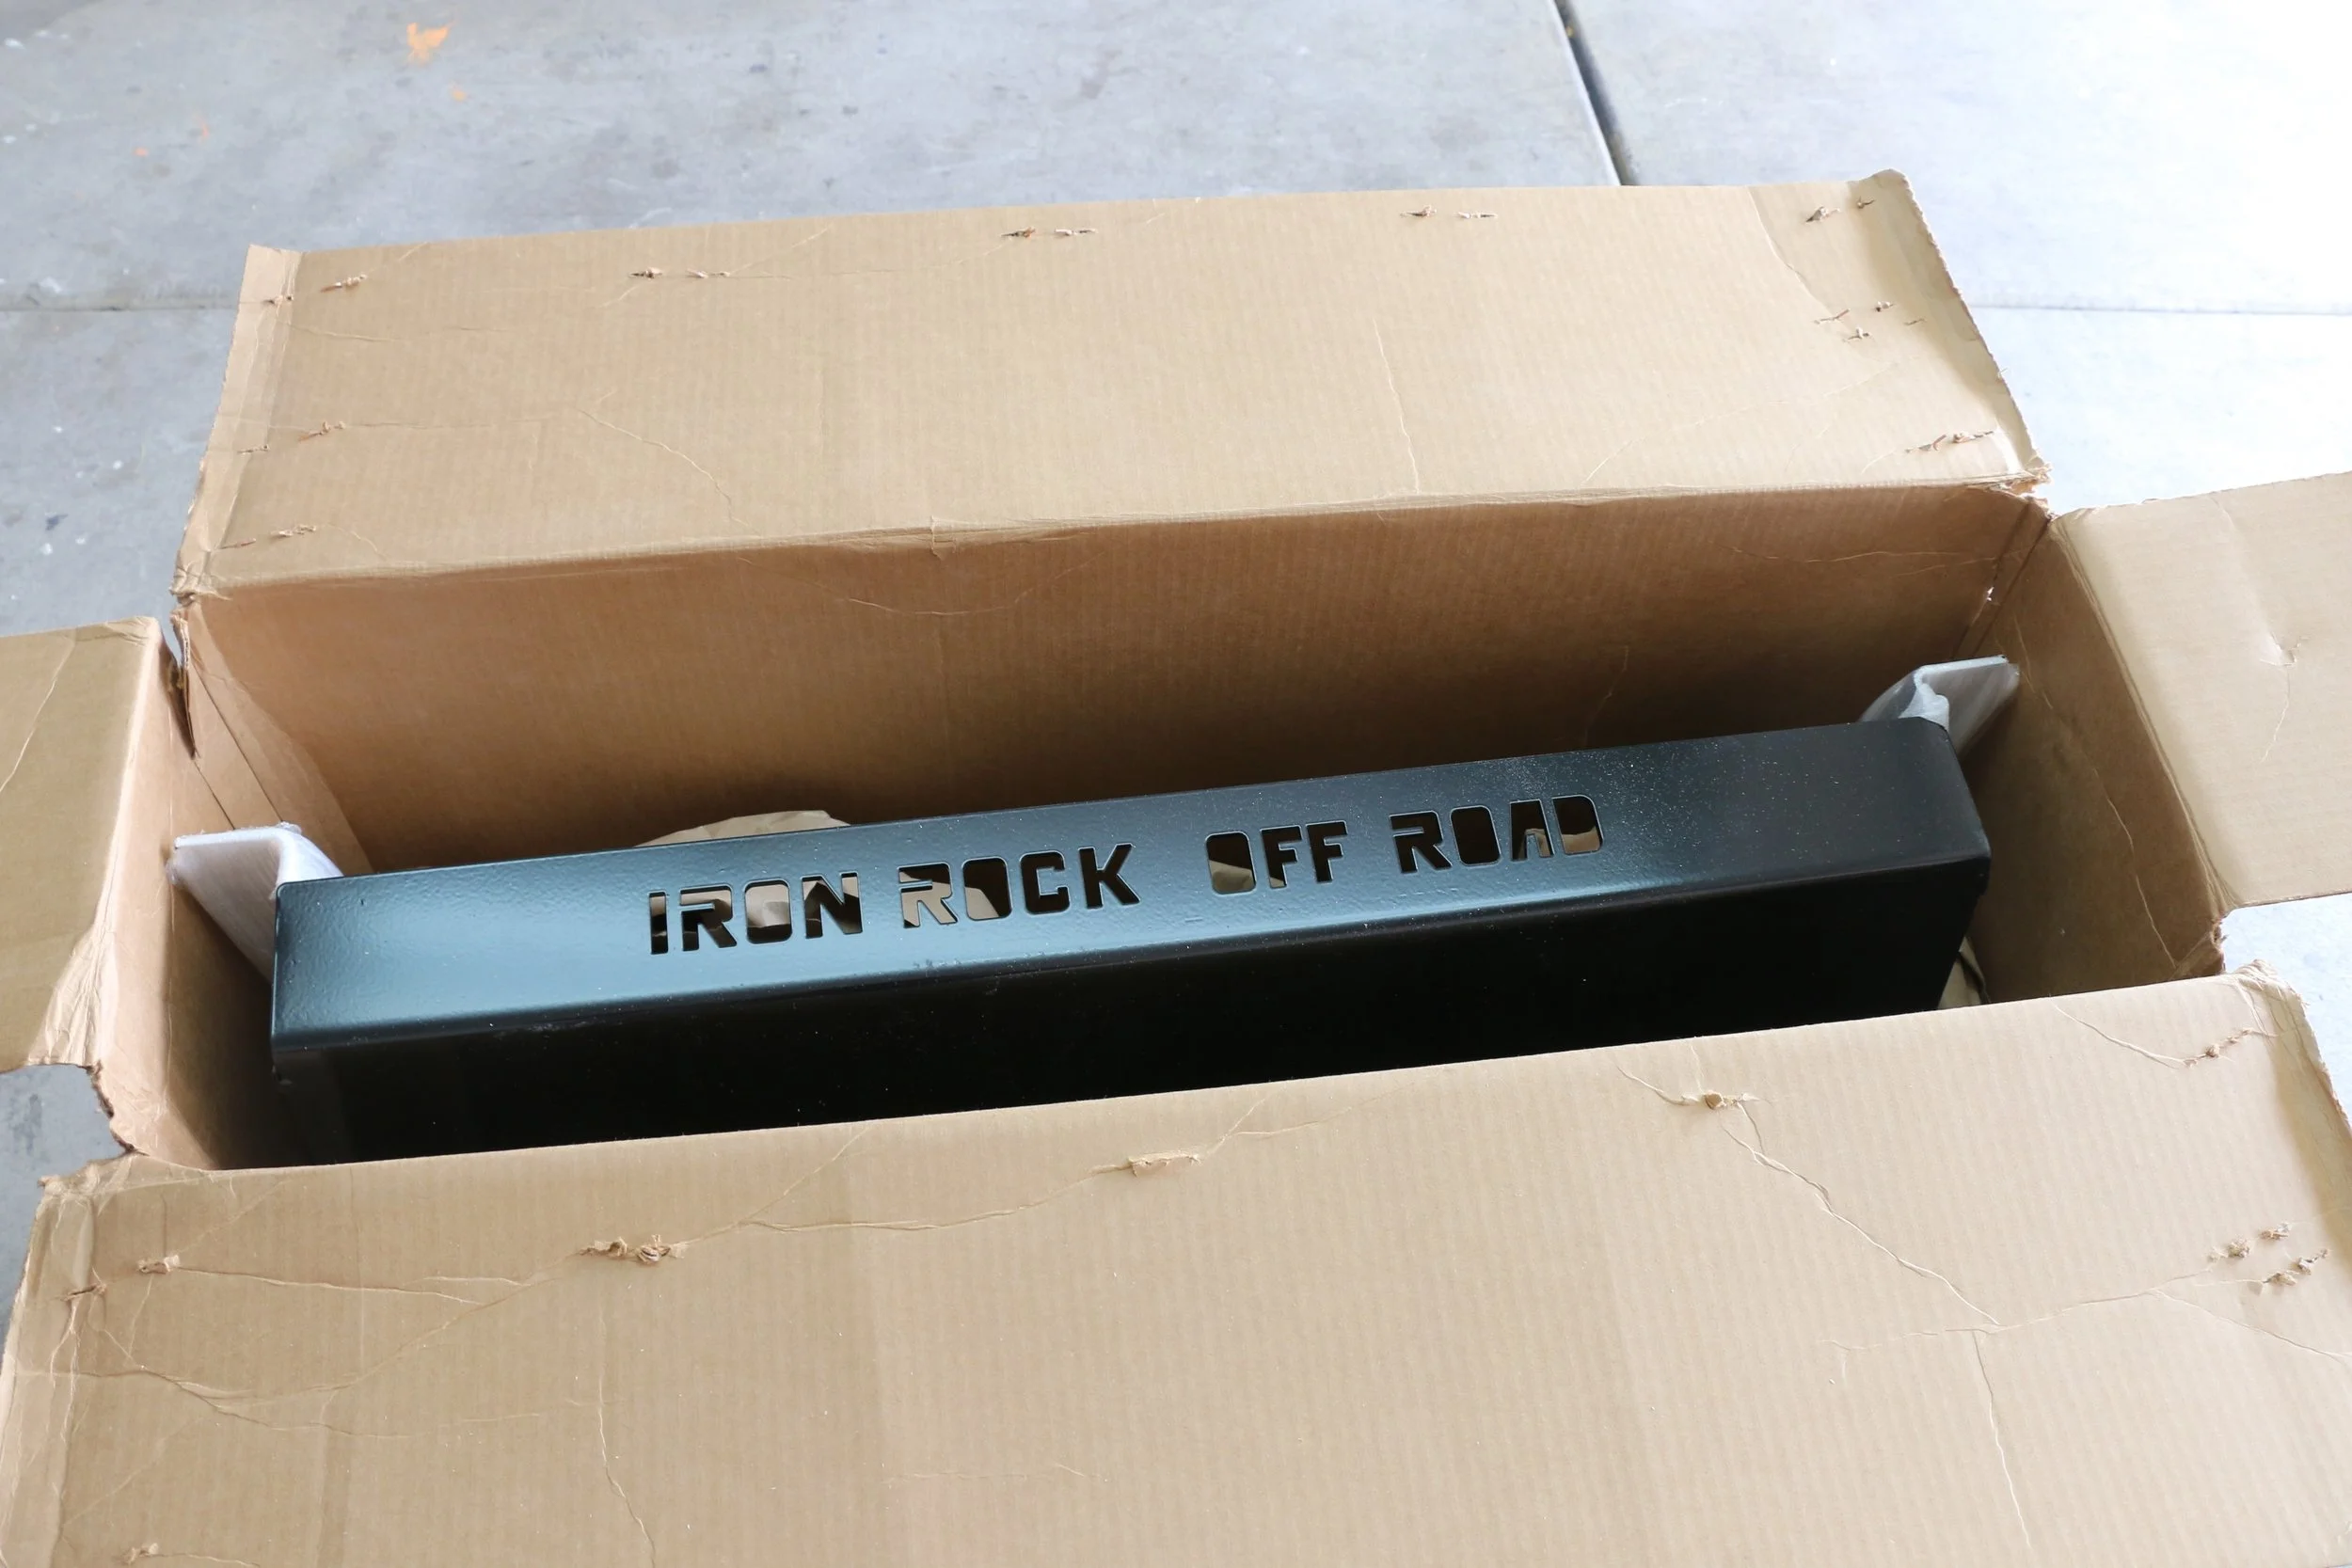
STEP 1 - Unbox/inspect new skid: Remove skid plate and all components from the shipping box. Inspect the skid plate for any damages or other abnormalities. Ensure you have the instructions and all required hardware (bolts, washers, etc) for the install. I include this as the first step because we actually received the wrong skid plate for our project. We ended up accidentally getting an XJ skid when we needed a ZJ skid (they are fitted differently).
STEP 2 - Remove factory trailer hitch & skid plate (if equipped): The trailer hitch is held on to the frame using 3 bolts on each side of the gas tank. Remove the bolts and carefully lower the hitch. If you have a factory gas tank skid, it should come off at this point. We didn’t have one so we didn’t have to worry. You may also need remove the trailer light harness from the hitch before taking off. This pops off fairly easy. After the hitch is removed you are ready for the skid plate install. For ZJ’s, you do not need to remove the exhaust heat shield. The skid plate is designed to fit around it. XJ’s will need to remove this heat shield.

STEP 3 - Position and raise skid plate into place: The skid plate itself weighs about 70 pounds and is a little awkward for one person to handle. We found that placing the skid on a jack and then rolling under the Jeep worked well. Place a 2x4 and/or shop towel between the skid and jack to prevent any scratches. Simply use the jack to raise up the skid plate into position, using two people to guide it as we raised it up. It should be a snug fit but it shouldn’t have to be forced into place.

STEP 4 - Replace hitch (if desired) and replace bolts: Replace trailer hitch and add bolts to tighten everything down. This is the point in the install where you would need to add the trailer hitch back in place. We opted to leave our hitch off at this point -- to both save weight and make room for future rear end upgrades. We don’t tow much so having the hitch was a waste of time and space. Whether or not you put the trailer hitch on, use either the old bolts or the new ones provided with the skid to hold everything up. Use washers between the outside of the skid and the bolt. Tighten everything up and you are good to go.

STEP 5 - Enjoy additional rear-end protection: One of the biggest drawbacks of the ZJ is how low and precarious the gas tank is mounted. It is extremely susceptible to damage and puncture when out on the trail. We have wacked our trailer hitch before so this part of the Jeep could definitely use additional protection. The 3/16” skid from Iron Rock Offroad helps give you peace of mind at what we found to be the cheapest price online. In addition, the skid plate also helps the rear look a little cleaner and sharper.

