

Grand Cherokee [“ZJ”] Project
Click on boxes below to view different phases of the build.


Jack, jack stands, air tools, air compressor, spring compressors, misc. wrenches + sockets
6-8 hours of time
Process:
**The following information is an informational guide intended to be used as a general aid for installing a lift. Always follow and refer to the official lift installation guide that will come with your lift kit.**
**Your lift kit will vary by type. Cheaper lifts will have less hardware and work required. Taller lifts will require changing more components like the upper control arms. The 3.5" lift we installed was middle of the road in terms of difficulty and quality.*


STEP 1 - Prep for rear lift: Park vehicle, set E-brake, place chocks behind the front tires, and jack up the rear end. You'll want to rest the frame on jack stands and have a jack handy to raise and lower the rear axle throughout the installation process. Remove rear tires and pull aside the components from the kit you'll need.
STEP 2 - Rear portion of lift: Jack up the rear axle. Unbolt the shocks absorbers, then, using the jack, lower the rear axle. Remove the shocks and the springs should be loose enough to pop out.

STEP 3 - Rear portion of lift (continued): Unbolt lower control arms. Replace them with the provided lower control arms which are longer than the stock arms. This will move the axle down and further back.
STEP 4 - Rear portion of lift (continued): Use a spring compressor to compress rear springs that came with the kit. You'll want to get them pretty tight in order to fit them into the vehicle. Lower the jack on the rear axle as low as possible and make sure both the upper and lower control arms are ATTACHED so the axle doesn't move. Place the spring into the holder and carefully unbolt the compressors, allowing them to expand into place.
STEP 5 - Rear portion of lift (continued): Attach new shocks. Additional work may be needed at this point. Our lift kit came with a track bar relocation mount. Attach this to the existing track bar mount and drill a new hole to properly attach the bar for the new height of the vehicle. Make sure all components are tightened. Put tires back on and lower vehicle back to the ground.


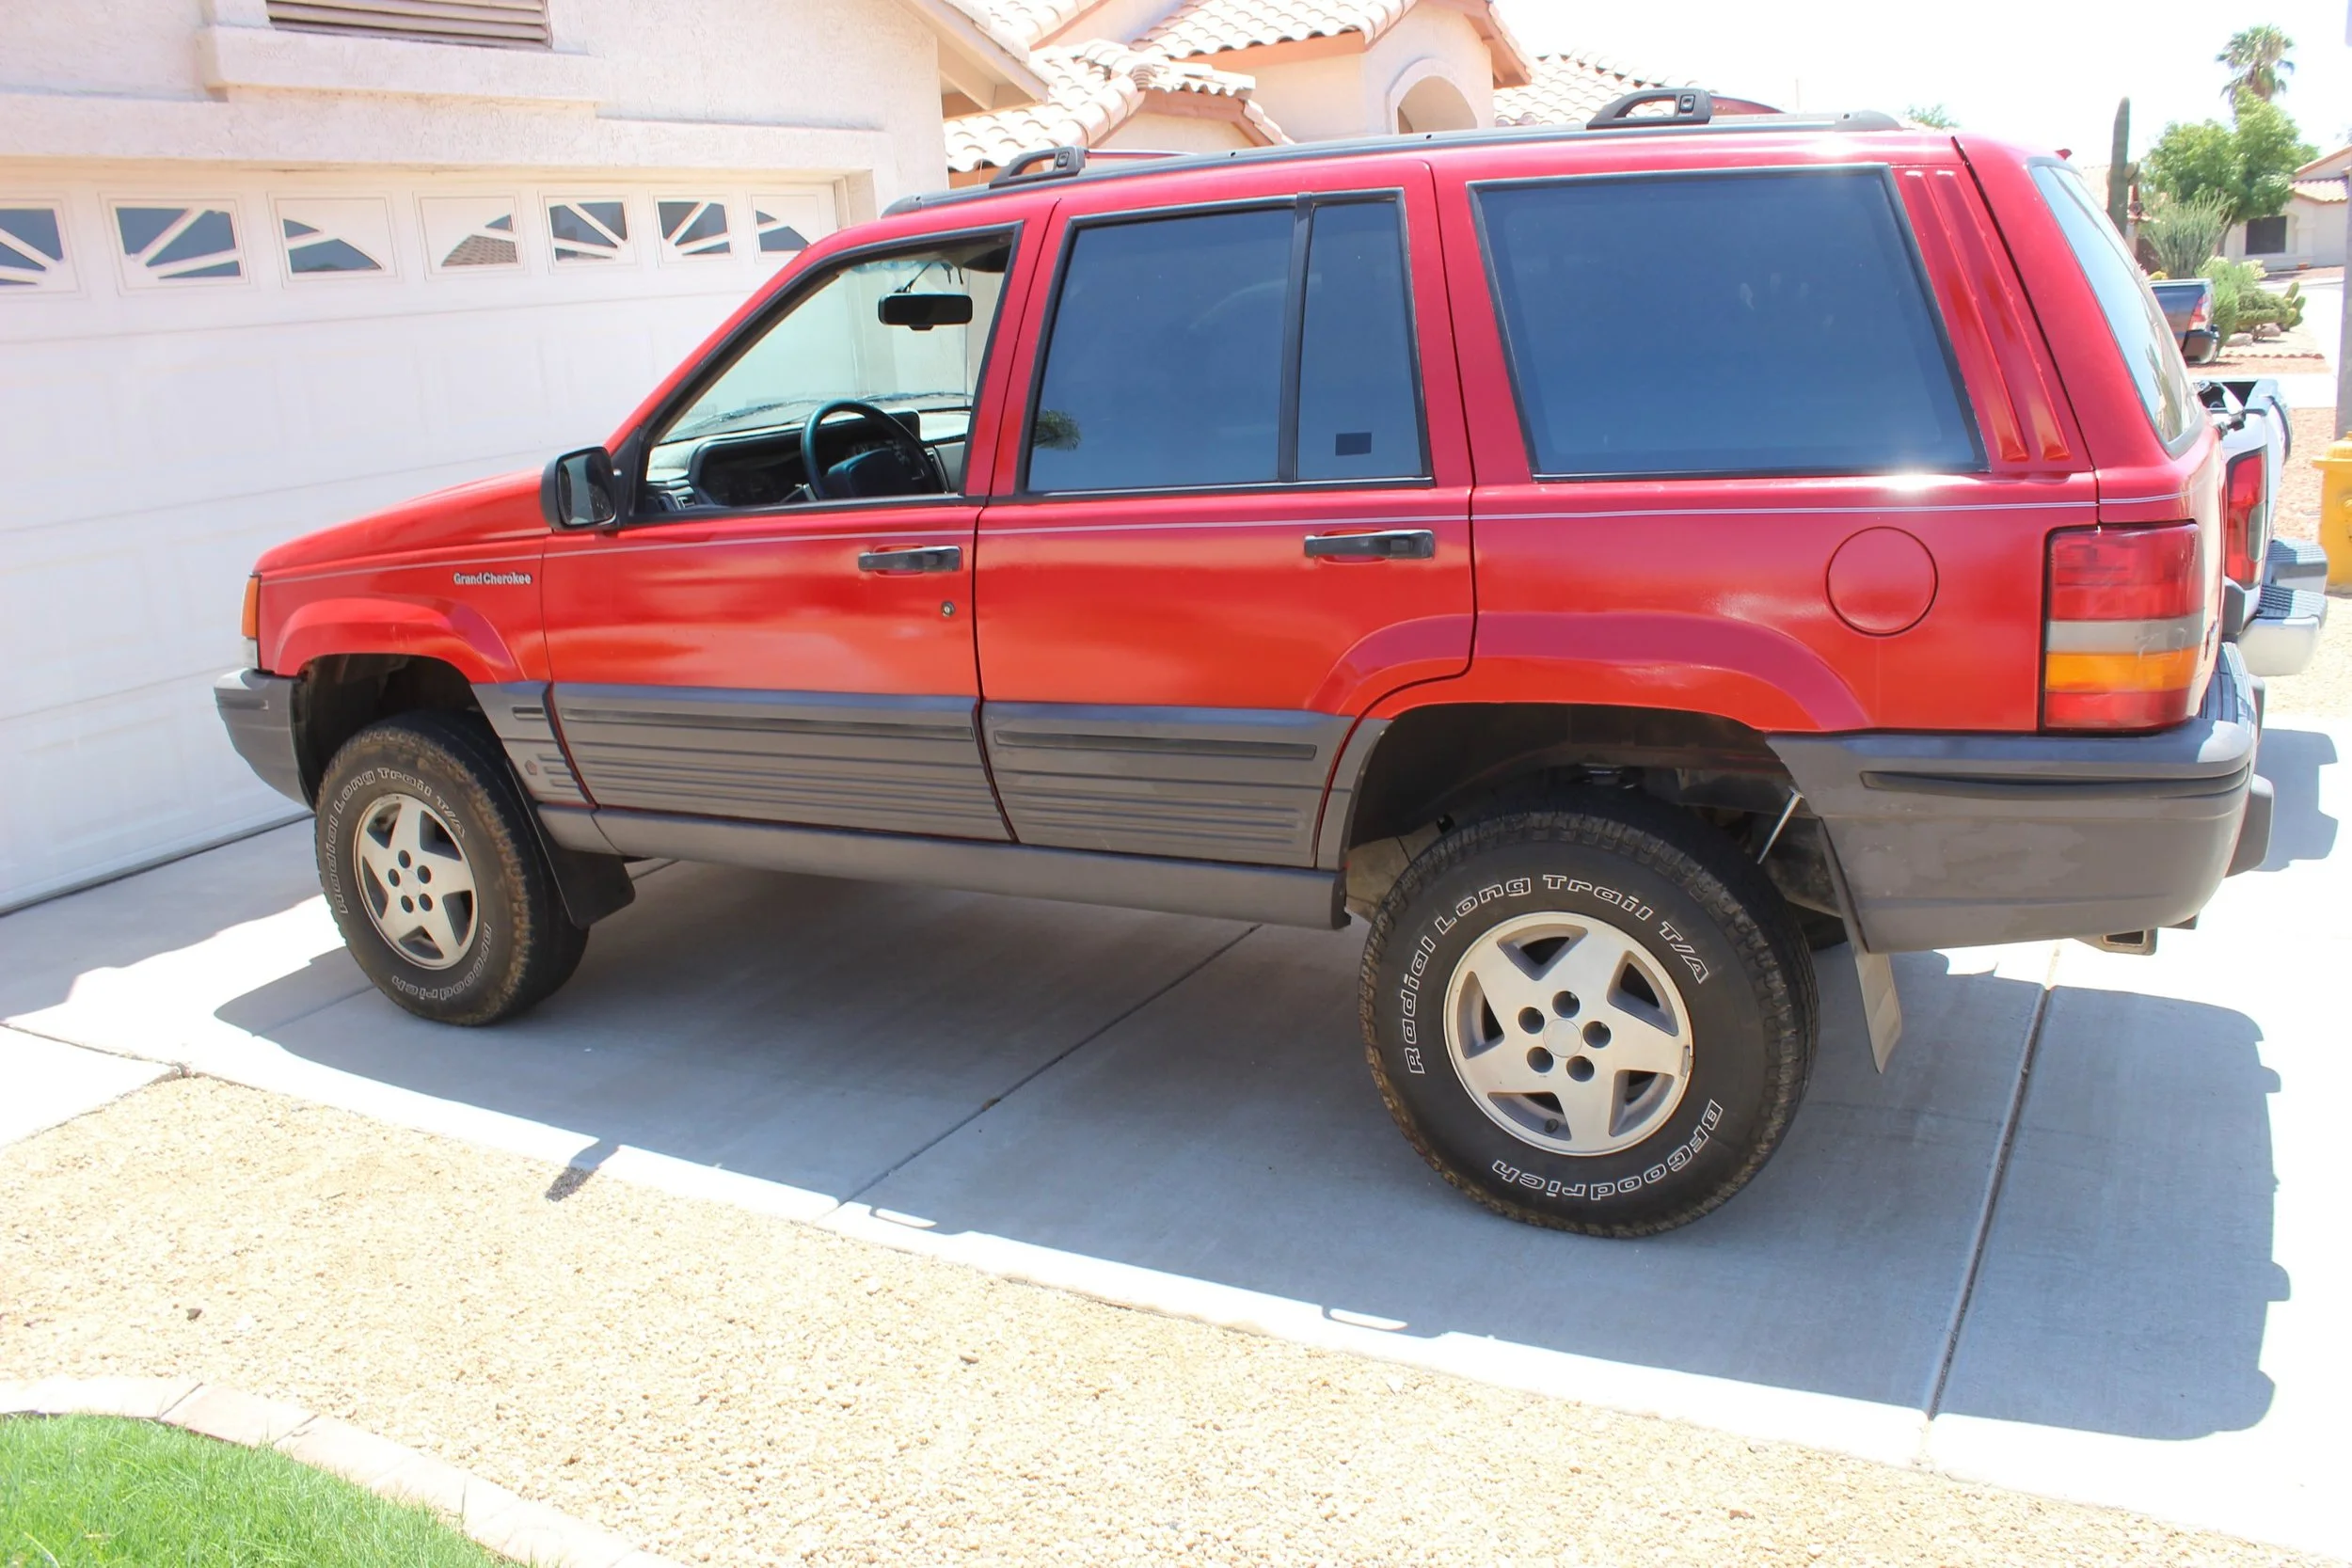
STEP 6 - Admire the new height of your vehicle: The rear lift should be done now. Back out the vehicle and appreciate the new height. We split the lift up over two days. The rear lift took a little over 3 hours. This is a nice spot for a break before you continue with the front portion of the lift.
STEP 7 - Prep for front lift: Installing the front lift is more or less the same process as the rear lift. Get the vehicle in a position you will be working on it and jack it up. Set E-brake, chock wheels, and remove front tires. Jack up the front axle.
STEP 8 - Front portion of lift: Unbolt the shocks absorbers, then, using the jack, lower the front axle. Remove the shocks. Take the springs out of the front which should be loose enough at this point. The front springs are longer due to the added weight of the engine, so using spring compressors may be needed. Remove the existing sway bar links and replace with taller links that came with the lift.
STEP 9 - Front portion of lift (continued): Unbolt lower control arms. Replace them with the provided lower control arms which are longer than the stock arms. This will move the axle down and further back. Make sure to only do one side at a time. The axle needs to stay steady and not twist or move out of place.
STEP 10 - Front portion of lift (continued): Use a spring compressor to compress the new front springs. You'll want to get them pretty tight in order to fit them into the vehicle. Lower the jack on the front axle as low as possible and make sure both the upper and lower control arms are ATTACHED so the axle doesn't move. Place the spring into position and carefully unbolt the compressors, allowing them to expand into place.

STEP 11 - Front portion of lift (final steps): Re-attach shocks. Put the tires back on and lower the vehicle back down onto the ground. Double check to make sure ALL components are tight.
STEP 12 - Now you're really done: Congrats! Your ZJ is now lifted. Our lift kit added just over 3" to our overall ground clearance. Stand back and admire the new potential.
STEP 13 - Decide which wheels and tires you want to add: This should probably be done before choosing a lift, but with the 3.5" lift we installed, it allowed us to add 31" tires. A taller lift means bigger tires. 33s are probably as big as you can get on a ZJ without serious modification. See our next section on swapping out the wheels and tires.
**Make sure to go back periodically to re-tighten all the new hardware you added. The lift changes the geometry of the vehicle and things will shift. It is a good idea to check bolts and other components every couple months.**
