

Grand Cherokee [“ZJ”] Project
Click on boxes below to view different phases of the build.


Components needed:

242 or 231 transfer case. You'll need to pick one up from a wrecking yard or other source. We found a gently used one from LKQ.
ATF + 3 Transmission Fluid & RTV
Jack, air tools, air compressor, misc. wrenches & sockets, oil pan, hammer, screw drivers
4-6 hours of time
Process:
STEP 1 - Research what type of transfer case you want: The Jeep Grand Cherokee came stock with the NP-249 transfer case. While a decent case, many people have negative opinions about it due to it only having three options (4-high, neutral, and 4-low) as well as the viscous coupler going out (the clicking and popping you hear on tight turns). Rather than pay $900 to replace the viscous coupler, you can save money and buy a completely different transfer case that's better. There are two options when considering a swap: the 242 and the 231. Both have slightly different features and components. We decided on the 242 since it is durable, has more drive modes, and most importantly, doesn't have a viscous coupler.
**When trying to find a transfer case, look online (we found ours through LKQ at a good price) or look at a junkyard. You'll need to know the spline count and input shaft length. All transfer cases have a small metal identification plate on them. If you can find a case that matches your case, you won't need to tear apart the cases in the swap. Your best bet is to find a ZJ or XJ (Cherokee) within the same years as your vehicle to be the donor. This forum has a helpful guide to determining what spline count/shaft length you have.**
Pick up the case from your donor vehicle at a junkyard, or get one online or through a warehouse and you're ready to begin the swap.

STEP 2 - Prep Jeep for swap: Park Jeep, leave transmission in neutral, and chalk the tires. Remove the U-bolts that attach the drivelines to the differential and set aside. Remove skid plates. Use a jack to support the transmission cross member and unbolt it from the unibody. Lowering this slightly will give you more room to pull the case.

STEP 3 - Prep T-case for swap: Remove as much transmission fluid from the case as possible. This will make it lighter and slightly easier to remove. Our fluid was gross and the metal flakes confirmed that we needed to do the swap. Expect to spill fluid when you remove the case as tipping it is inevitable. Also remove all the shift linkages found on the top part of the case and unbolt the case from the transmission.

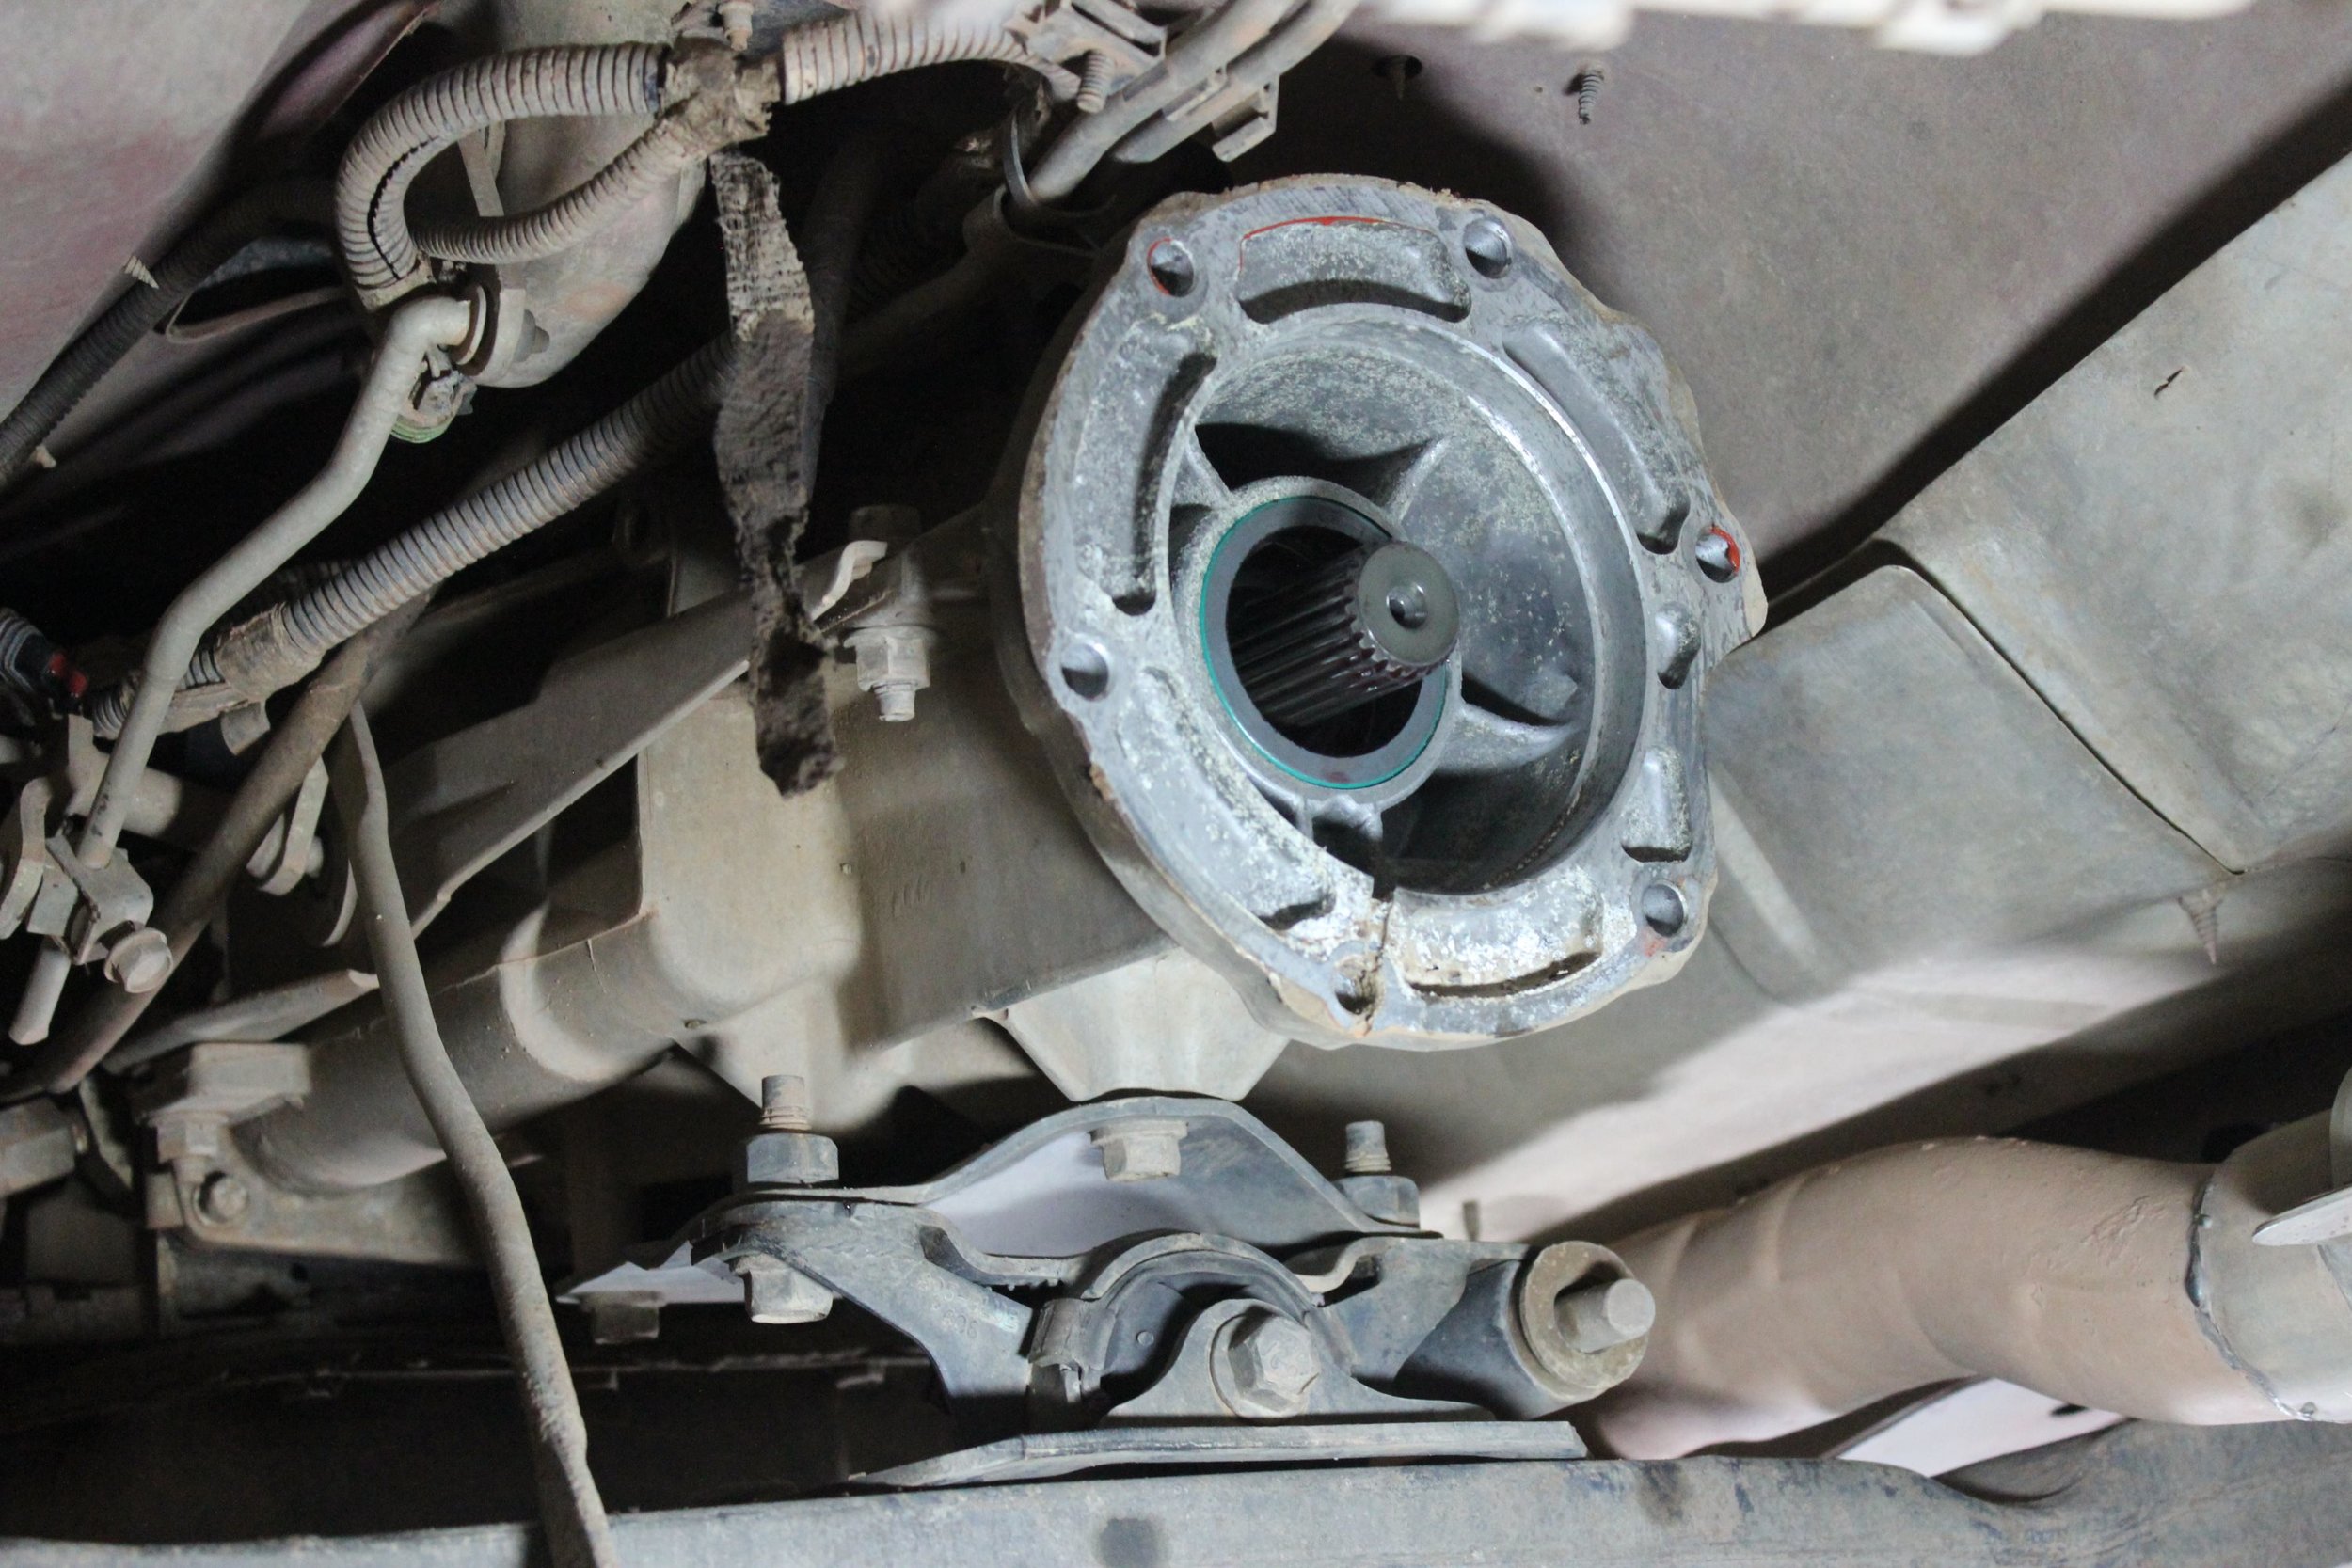


STEP 4 - Pull the case, and pull apart if necessary: You'll likely need a hand here. Lower the transmission cross member and begin to pull the transfer case out away from the transmission. Lower the case to the ground carefully and pull out from underneath the Jeep. Unless you do your research right and get the perfect case, you'll likely need to pull the case apart to swap the inputs. This isn't overly difficult, but adds considerable time to the swap. Unfortunately, our ZJ needed the 1.55" input shaft, and our donor case had the .84" shaft. Remove all of the bolts around the case and the large bolt that holds the front driveline U-joints in. Air tools are your friend here and we actually struggled getting the biggest bolt for the driveline out.
STEP 5 - Pull apart the donor case: Repeat step #4 with your donor case. You can see in the bottom left photo how the input shafts varied between the two cases.

STEP 6 - Swap inputs (if necessary): Pulling out the input shaft from the 249 requires you to remove the planetary gears and chain. Use this opportunity to inspect the inside of the case. We found metal flakes all throughout ours and the chain was very loose. Replace the input shaft in your new case. Put all of the gears and chain back in after the input shaft. We had issues getting the shift fork in place, but with a hammer and screwdriver made it fit.

STEP 7 - Reassemble the new case: Be sure to put things back in the order they came out in. It is a cliché install line, but with all the gearing and everything going on inside the T-case, it is really important. Use RTV around the edges of the case to seal it and close up the case using the bolts around the edge. Tighten up the front driveline u-joints.

STEP 8 - Install new case: Use caution lifting the new case back into the Jeep. Make sure it sits properly against the transmission. Re-tighten all mounting bolts and raise transmission cross member and tighten it. Re-attach shift linkages. Some adjustment of the length of the linkages may be necessary since this case has 2 more drive modes than the 249. Make sure the shift lever is able to move through each option on the case. Add fluid to the case till it's spilling out and you're nearly good to go.

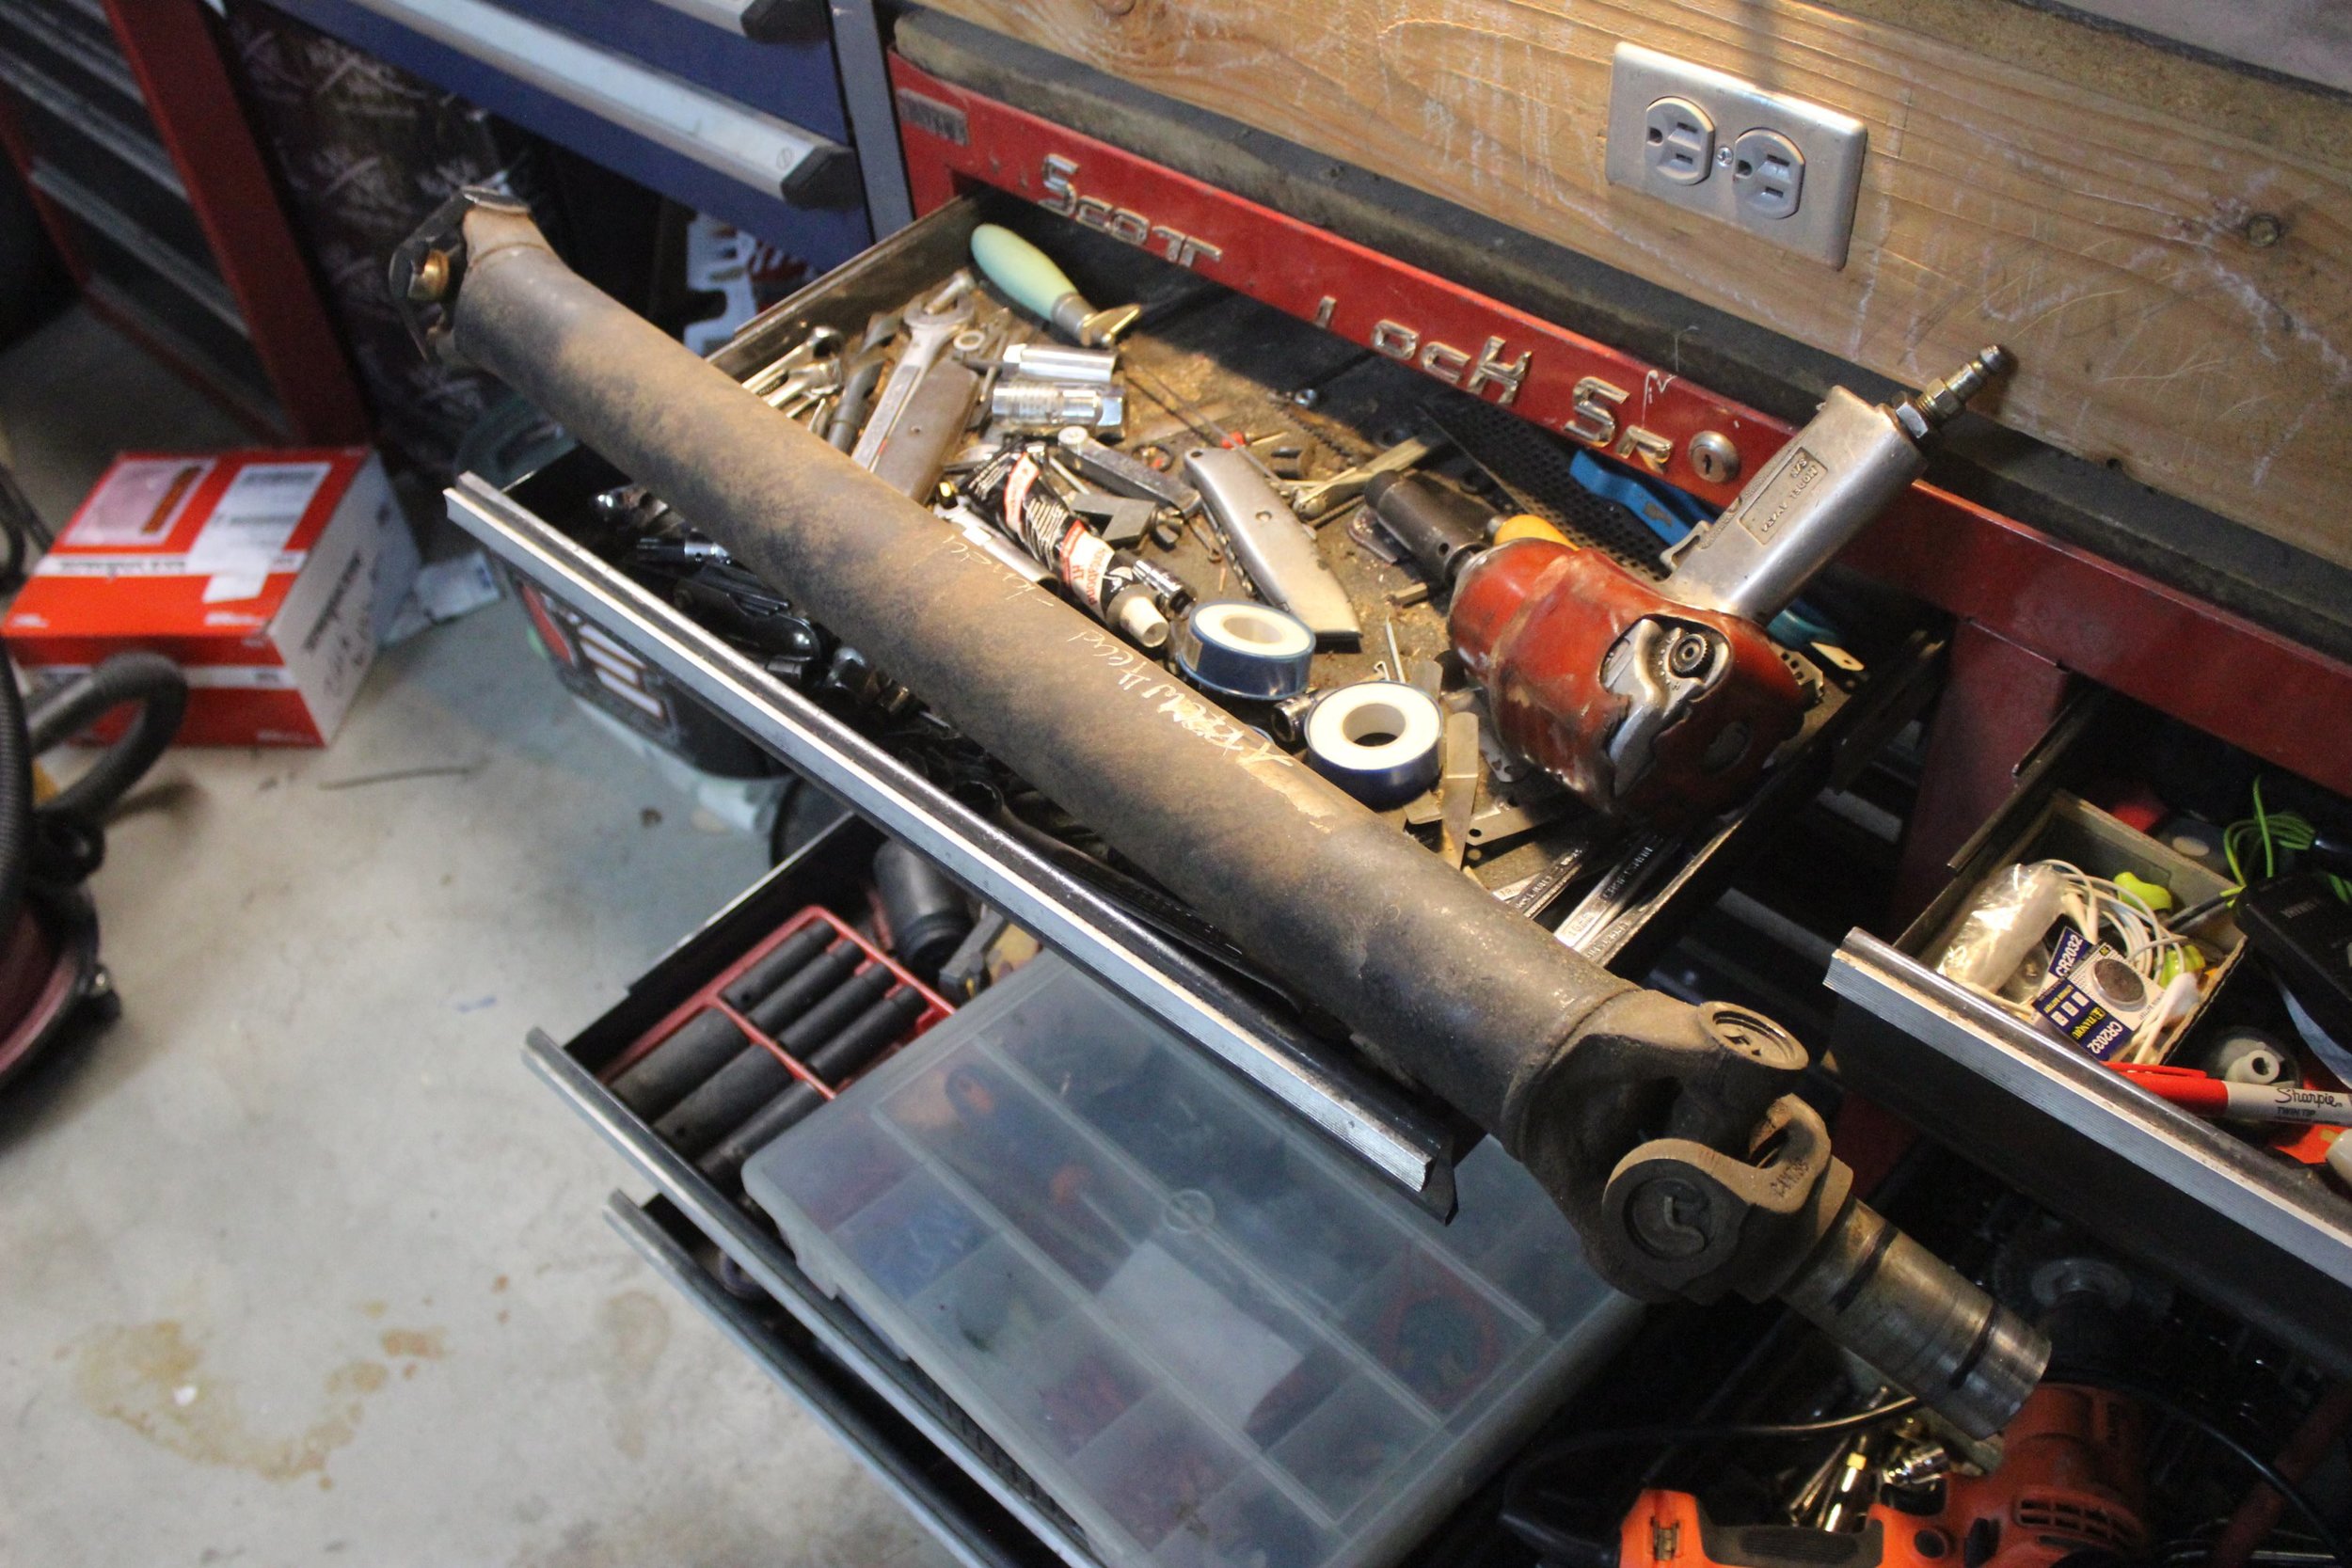
STEP 9 - Install drivelines: The physical differences between the two cases are minimal. The 242 is just a tad smaller than the 249. You likely don't need to adjust your drivelines. Since the beginning of our modifications on the Jeep, we've had a quirky rear driveline. We had it adjusted after the lift was installed and needed it made longer after the transfer case swap. We didn't feel comfortable with the way it sat and decided it needed to extend and rebalance it. The front driveline was perfectly fine. Snagging the rear driveshaft from your donor vehicle may be a good idea if you don't think your current driveline will work. This swap is a good opportunity to install a slip-yoke eliminator which we didn't think of until long after.
STEP 10 - Change wiring to VIC inside cab: If you want your Vehicle Information Center (VIC aka the heads up display in your center console) to display the proper drive mode you're in, you'll need to quickly and easily swap out the wiring behind it. Remove the screws that hold in the plastic trim piece. Unplug the cigarette lighter. Unscrew the VIC unit and pull out. If you're swapping from the 249, there will be a set of red wires plugged in behind it. Unplug those. There should also be a black set of wires back there too. Plug those in. Boom. Just like that, you're Jeep will now properly display what mode you're in (4WD Full Time, 4WD Part Time, 2WD, etc). Reassemble everything and you're done.